Page De Garde Histoire Frise

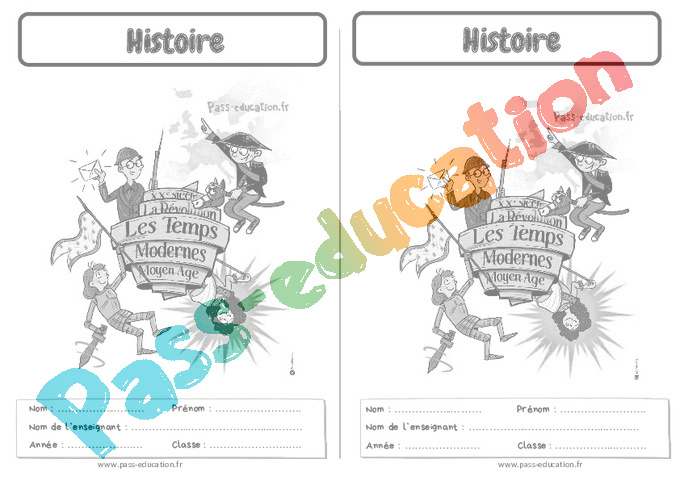
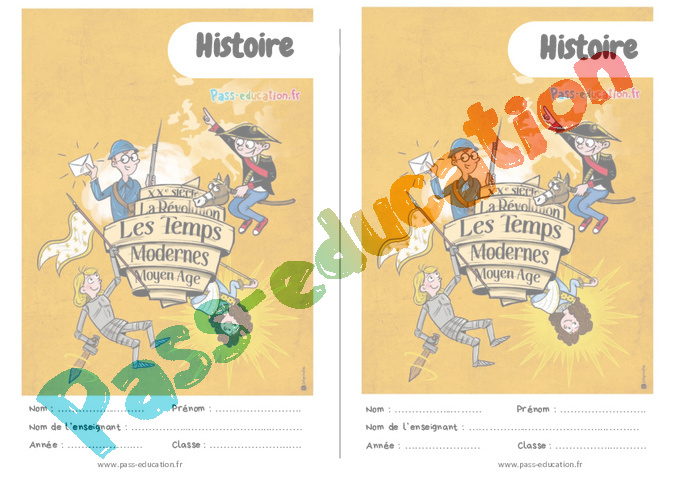
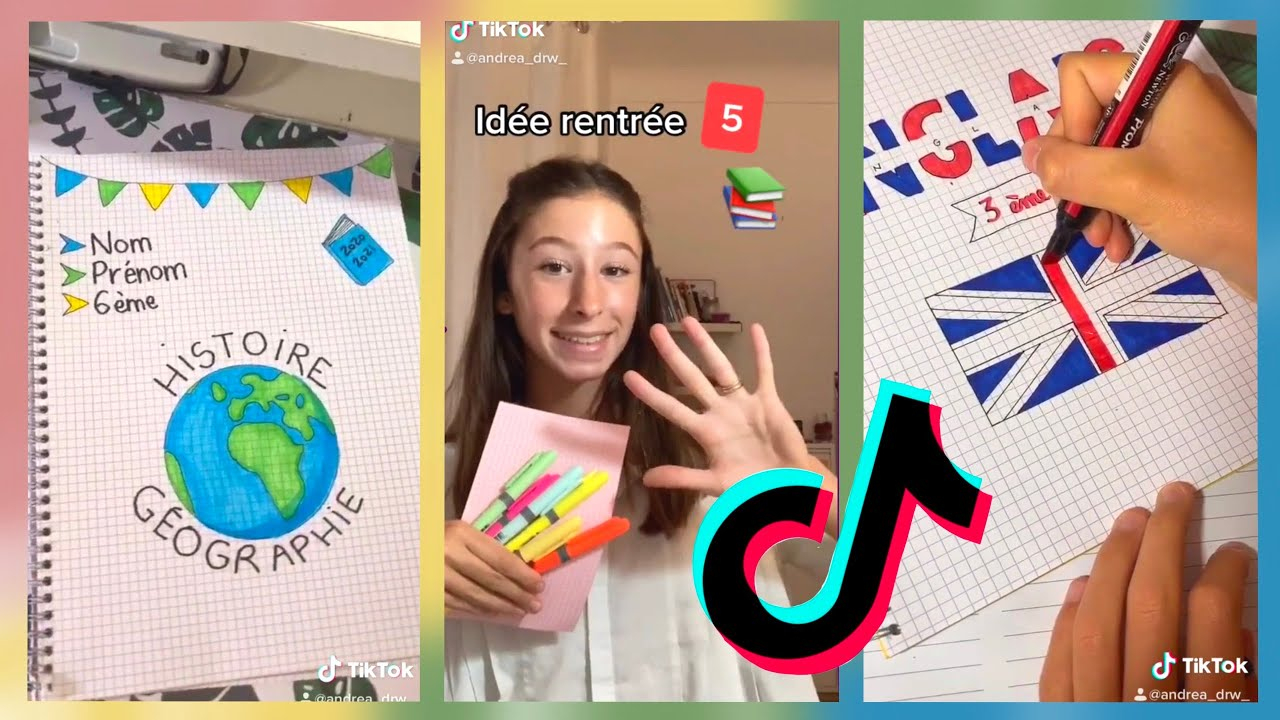
Okay, picture this: I'm elbow-deep in old school notebooks, the kind with the slightly musty smell and the faint blue lines. I'm helping my little cousin with her history homework, and she's stressing hard about decorating her "page de garde." You know, that first page where you're supposed to write the subject, your name, the year... and apparently, create a work of art worthy of the Louvre. She was about to just scribble something and call it a day, but then I remembered my own epic fail back in the day. Let's just say my attempt at drawing the French Revolution looked more like a potato fight.
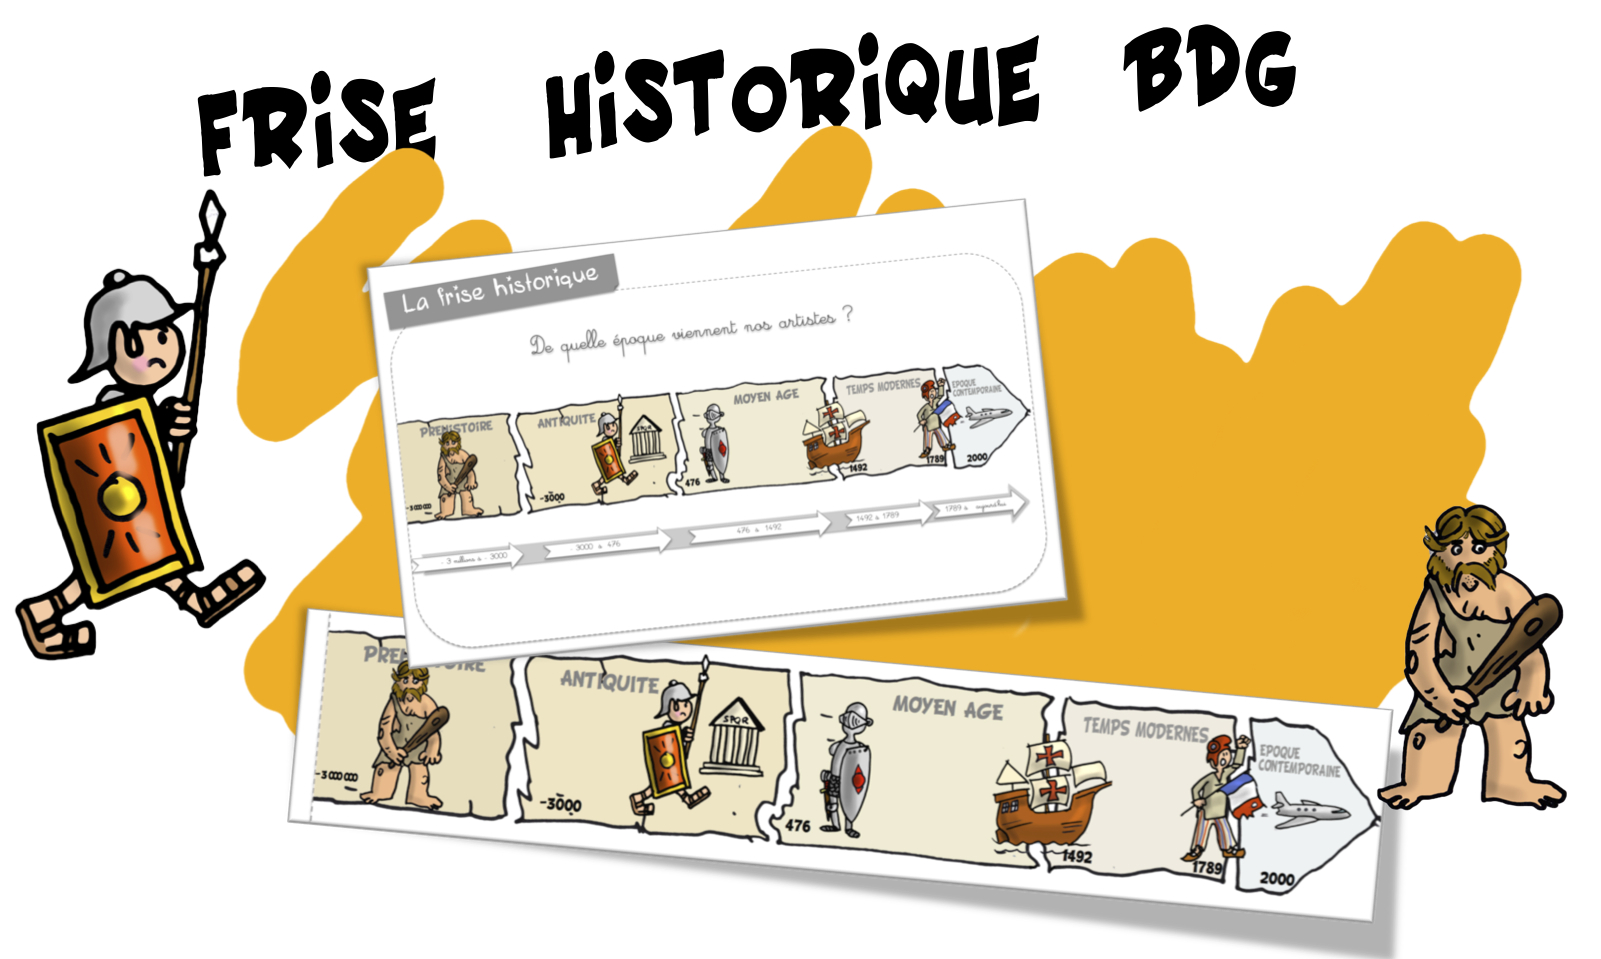
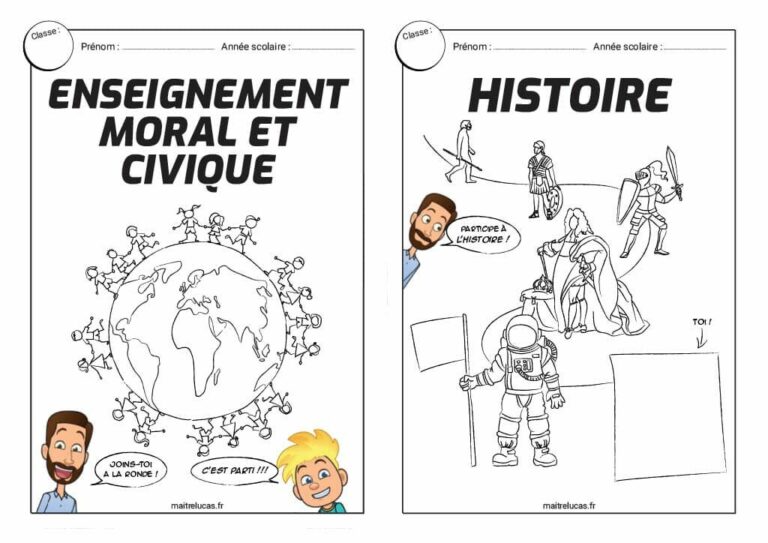
That got me thinking: the page de garde. It's so much more than just a formality, right? It's a chance to set the tone for the whole subject, to get creative, and to (let's be honest) impress your teacher just a little bit. And when it comes to history, the frise chronologique – the timeline – is a classic and surprisingly effective way to do just that.
Why a Timeline? Let's Get Real
I know, I know, timelines can sound boring. "Ugh, dates and events, how thrilling," you're probably thinking. But hear me out! A well-designed timeline on your page de garde can actually make history come alive.
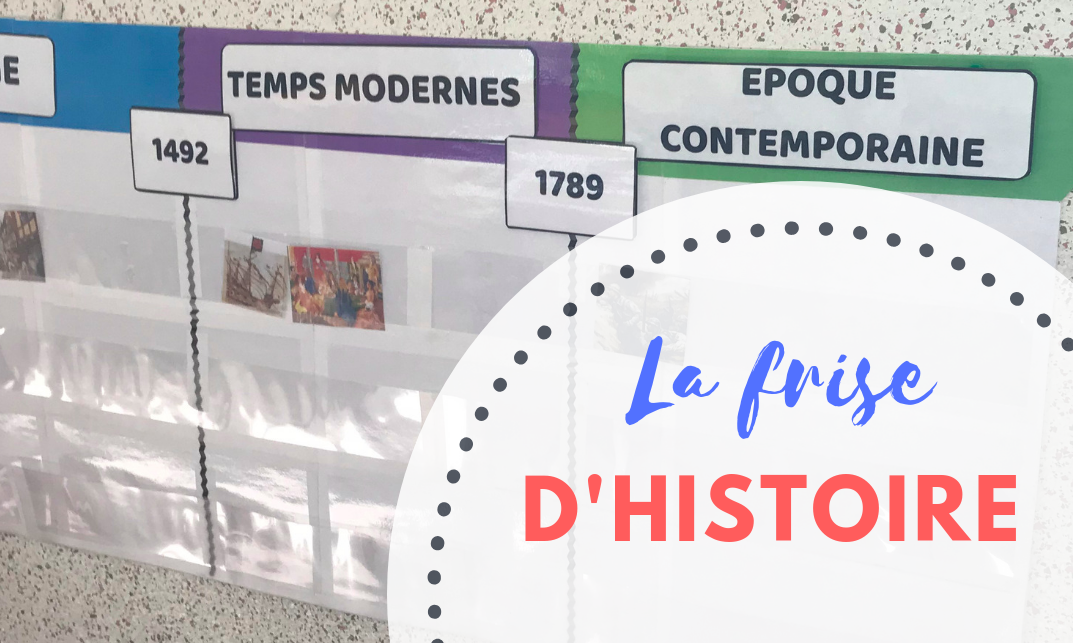
- Visual Aid Extraordinaire: Instead of just listing dates, you see the flow of history. It's like a map of time!
- Context is King (or Queen!): A timeline helps you understand how events relate to each other. Was the Renaissance before or after the Middle Ages? (Trick question: kind of overlapping!).
- Super Impressive: A thoughtfully crafted timeline shows you put in the effort. Teachers love that stuff. (Don't tell them I told you!).
Plus, let's face it, a boring page de garde just screams "I waited until the last minute." A timeline, on the other hand, says, "I'm ready to conquer history!" Or at least, "I'm willing to try."
Frise Chronologique: Design 101
So, you're sold on the timeline idea. Awesome! But where do you start? Don't panic. Here are some tips to make your frise chronologique pop (without needing a degree in graphic design).
Choosing Your Events
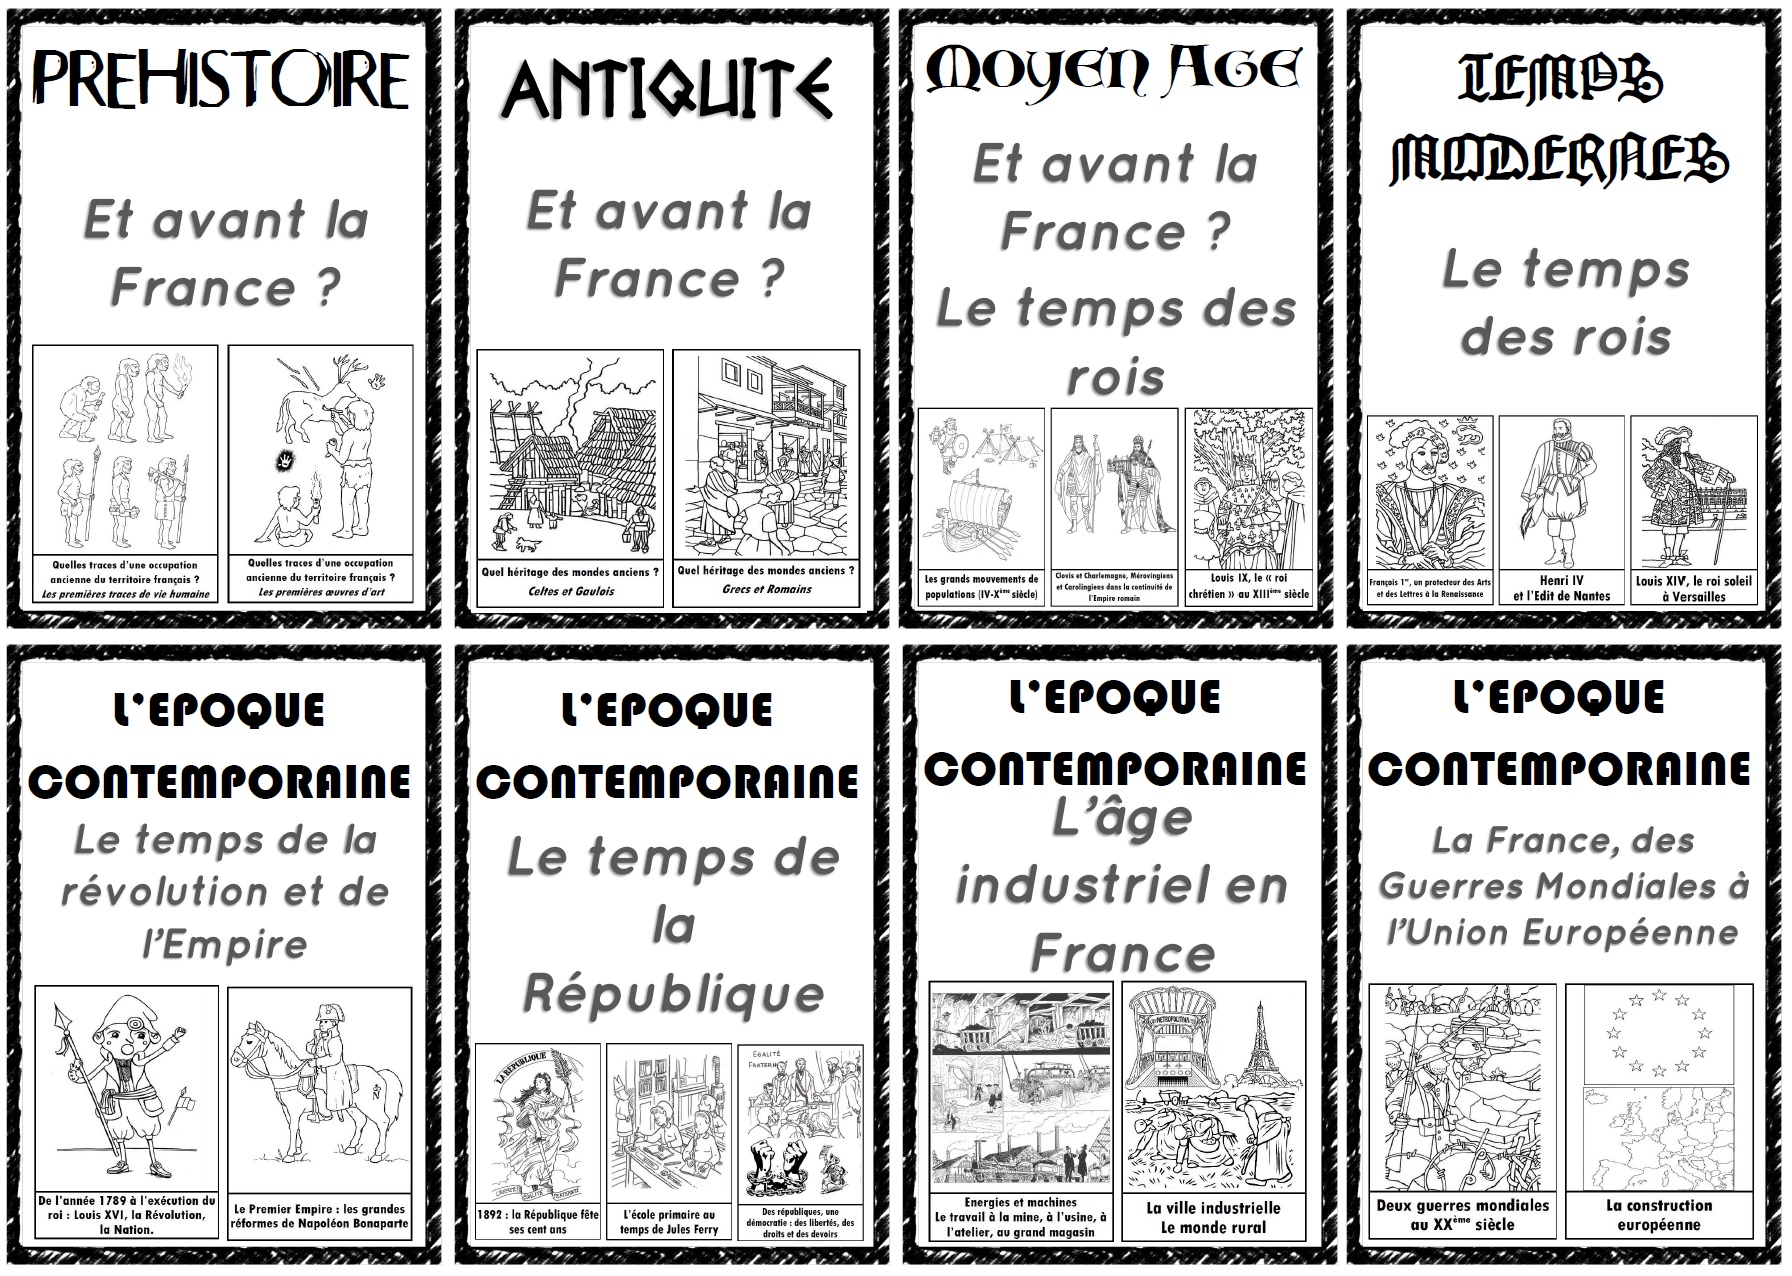
The key here is to be selective. Don't try to cram every single historical event onto one page. Focus on the key periods or events that your course will cover. For example:
- For Medieval History: You might include the Fall of the Roman Empire, the Viking Age, the Crusades, and the Renaissance.
- For Modern History: The French Revolution, the Industrial Revolution, World War I & II, the Cold War.
Pro-tip: Check your syllabus! Your teacher probably already highlighted the important stuff.
Layout and Design
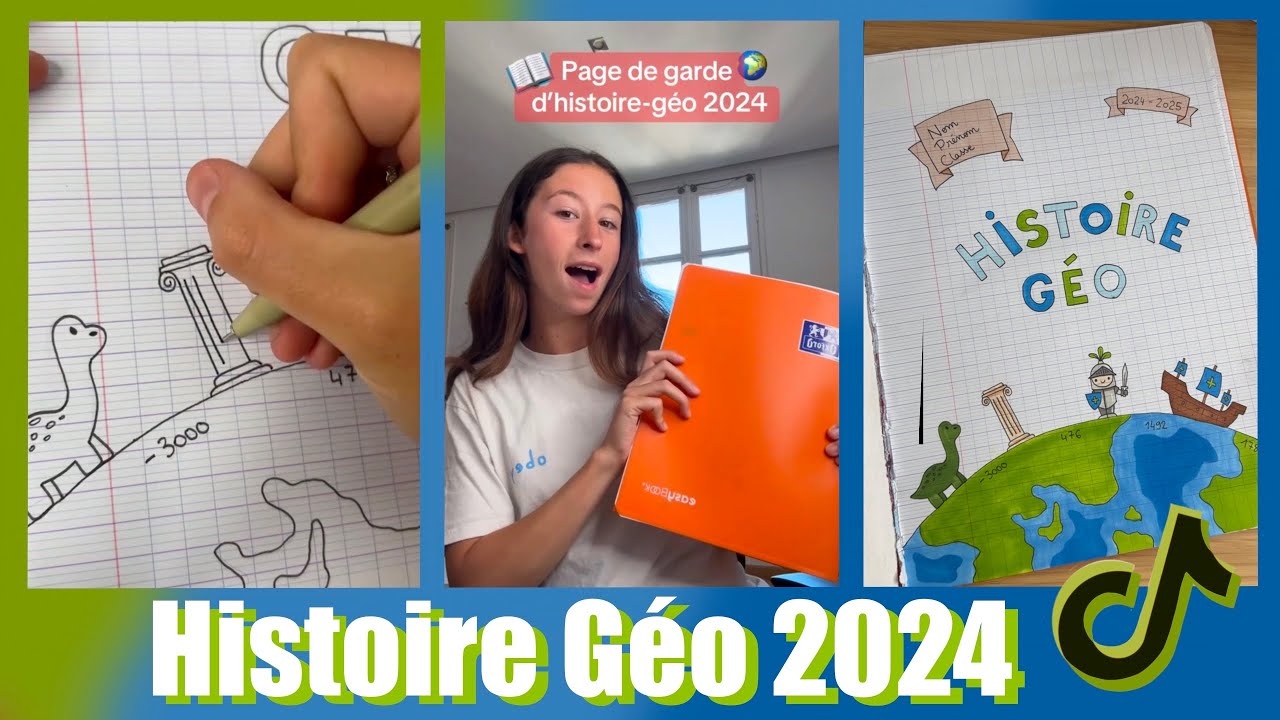
This is where you can get creative! Don't just draw a straight line. Think outside the box! Consider these options:
- Curved Lines: A gentle curve can make your timeline feel more organic.
- Branches: Create branches to represent different civilizations or regions.
- Colors: Use different colors to represent different periods or themes. For example, red for wars, green for periods of peace and prosperity.
- Images: Add small drawings or symbols to represent each event. A tiny Eiffel Tower for the French Revolution, a lightbulb for the Industrial Revolution. You get the idea!
Remember: Keep it legible! No matter how artistic you get, make sure you can still read the dates and event names.
Don't Forget the Little Details
Once you have your main timeline, add some extra flair!
- A Title: Something catchy that reflects the subject matter. "A Journey Through Time," "Moments That Changed the World," or even something a little silly.
- Your Name: Because, you know, it's your work!
- The Year: Because... organization.
Personal touch alert! Add a quote that resonates with you about history. It shows you're engaged and thoughtful.
So, there you have it! The frise chronologique on your page de garde: not just a decoration, but a powerful tool for learning and a chance to show off your creative side. Now go forth and conquer history! (Or at least get a good grade.)