Insérer Une Page De Garde Personalisée Word
Okay, imagine this: you're slaving away on your thesis, fuelled by lukewarm coffee and the faint hope of finally graduating. You finish! Victory! But then... the dreaded realization: your cover page looks like it was designed by a committee of sleep-deprived squirrels. We've all been there, right? That generic Word template just screams "I put zero effort into this." That's when the magic of a personalized cover page comes in!
So, how do we ditch the default and unleash our inner artist (or at least, a slightly more stylish version of ourselves)? Let's dive into the wonderful world of customizing cover pages in Word. Get ready to say goodbye to boring!
Why Bother with a Personalized Cover Page?
Seriously, why not? Think of your cover page as your document's first impression. It's the handshake, the initial greeting, the little black dress of your report.
- Professionalism: It shows you care about the details. Employers and teachers are more likely to value your job.
- Branding: For businesses, it reinforces your brand identity with logos, colors, and fonts. It makes it look like you have actually worked on it.
- Standing out: In a sea of similar-looking documents, a unique cover page can grab attention.
Basically, it's a chance to shine! Don't let it go to waste.
Adding a Pre-Designed Cover Page (and Then Making it Your Own)
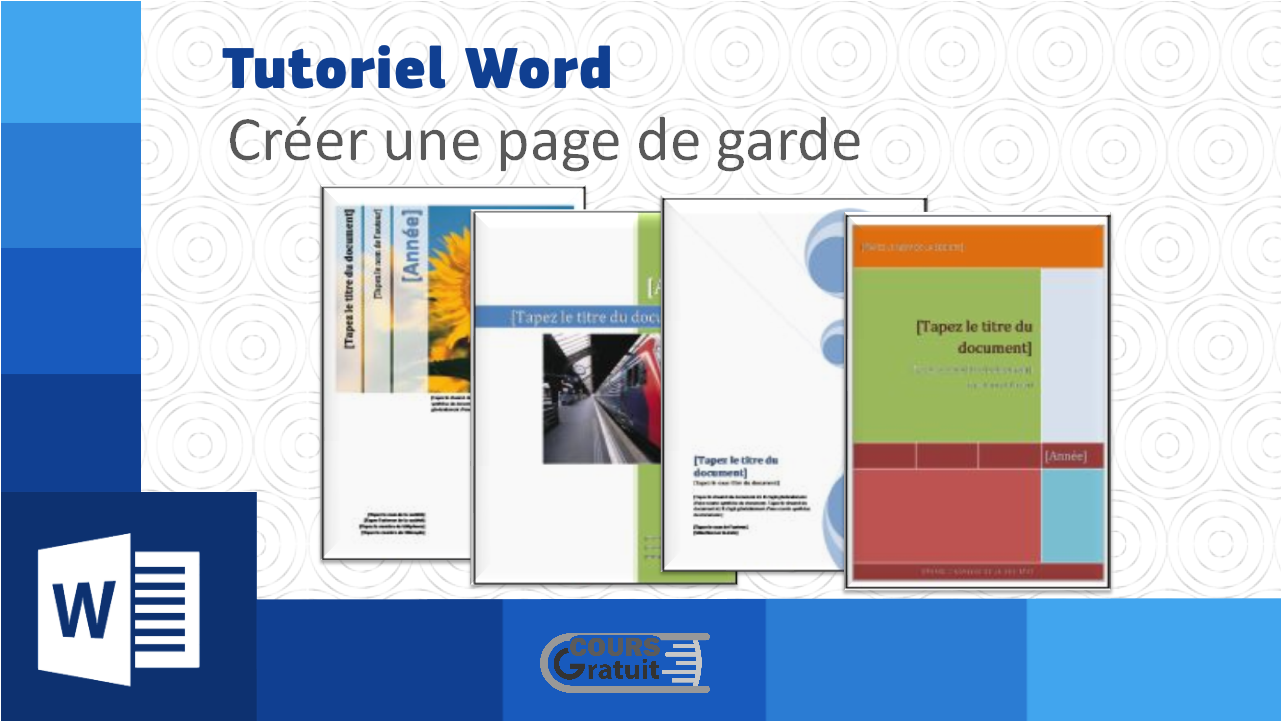
Word actually offers some built-in templates, which can be a great starting point. It's like getting a Lego set – the instructions are there, but you can always build something completely different.
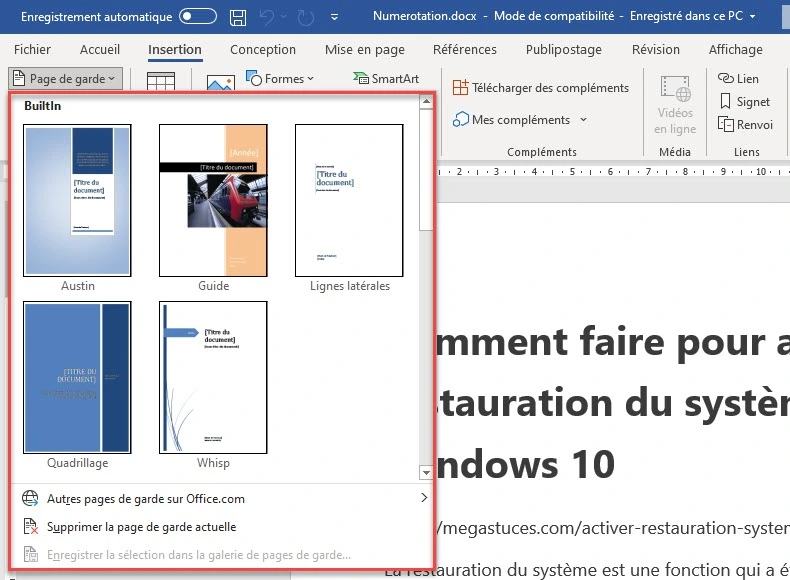
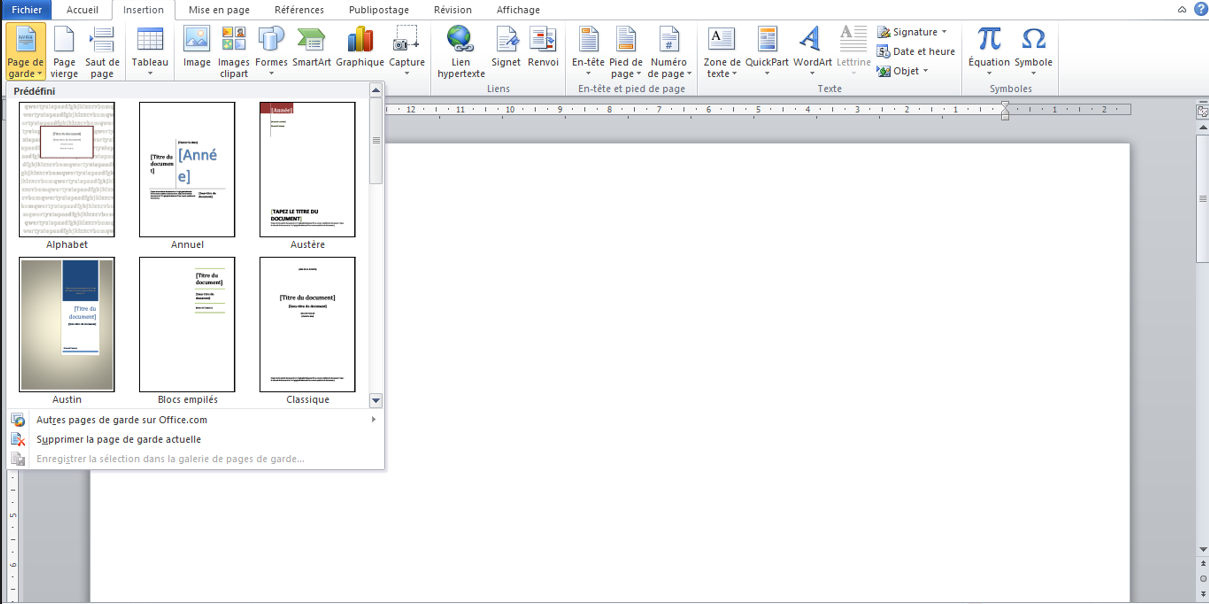
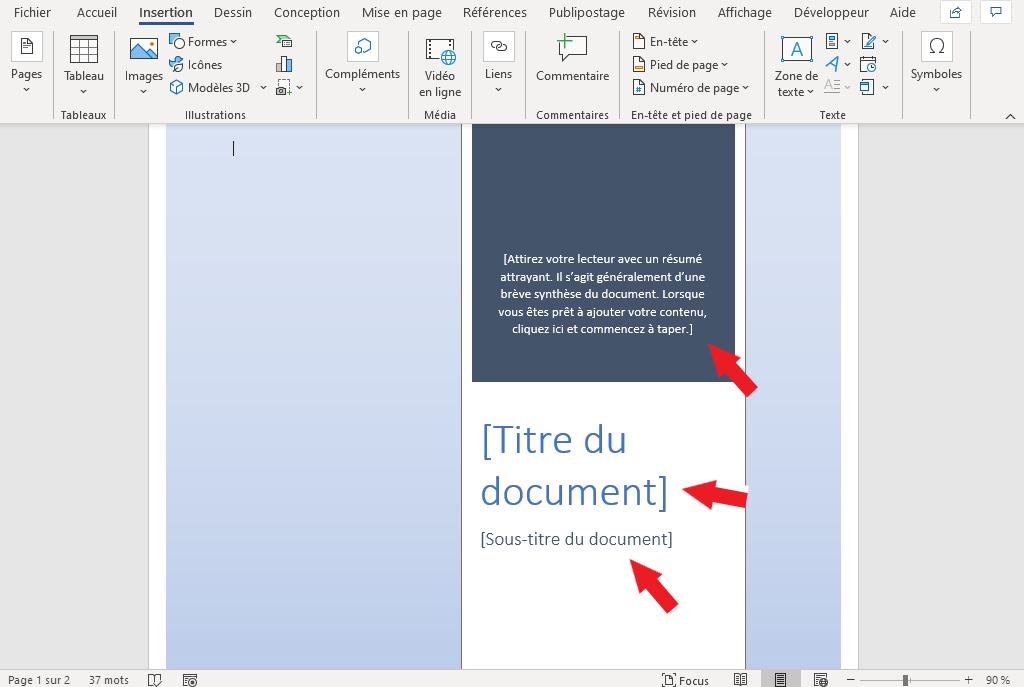
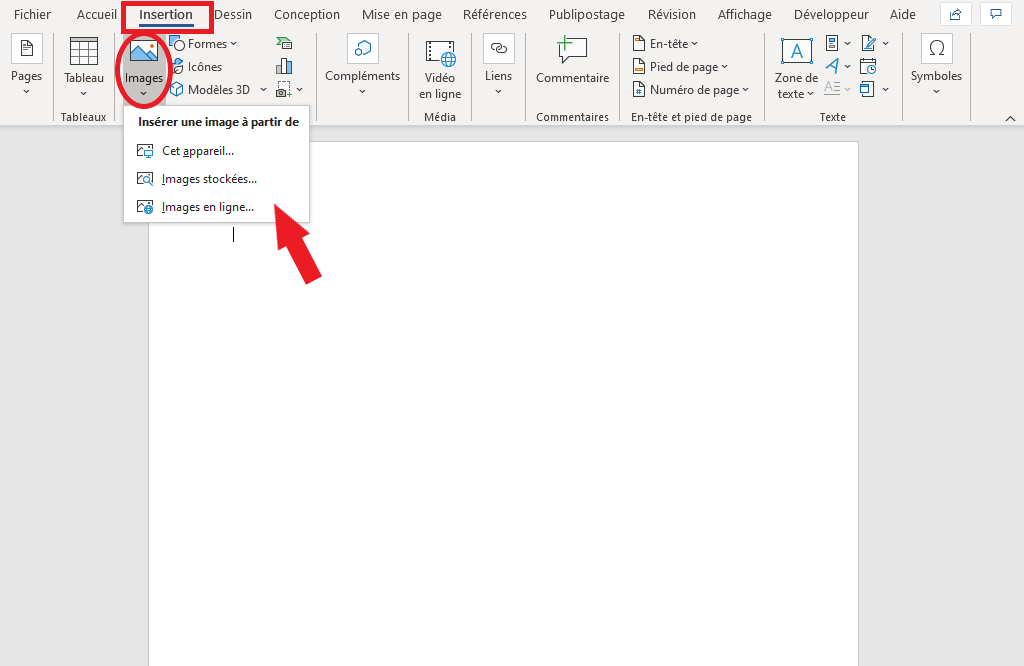
- Go to the "Insert" tab. (I know, revolutionary, right?)
- Click on "Cover Page" in the "Pages" group.
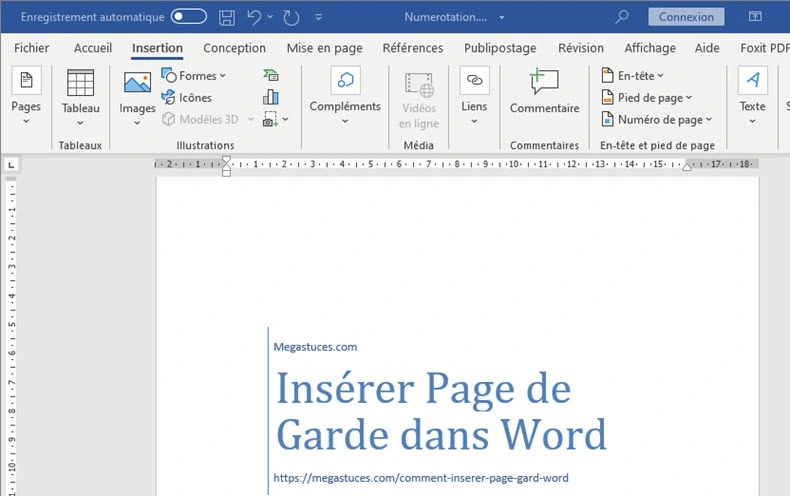
- Browse the gallery and choose one that tickles your fancy. (Or the least offensive one, we don't judge.)
Now for the fun part: customization! You can change:
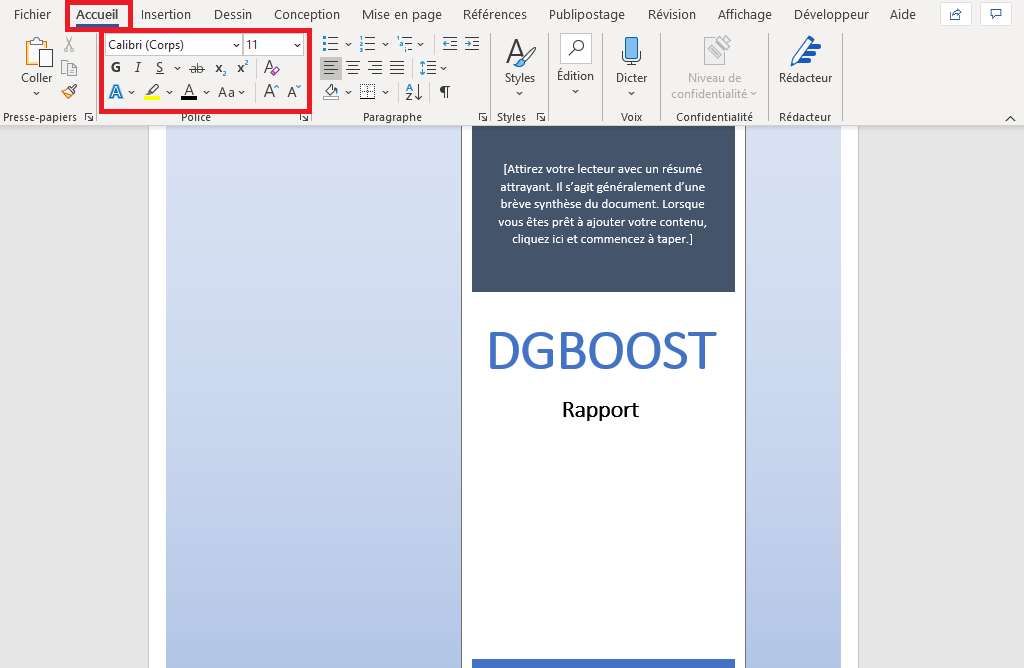
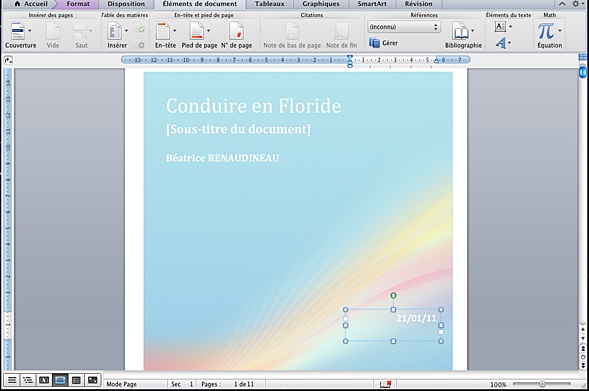
- Text: Obvious, but important! Update the title, subtitle, author, date, etc.
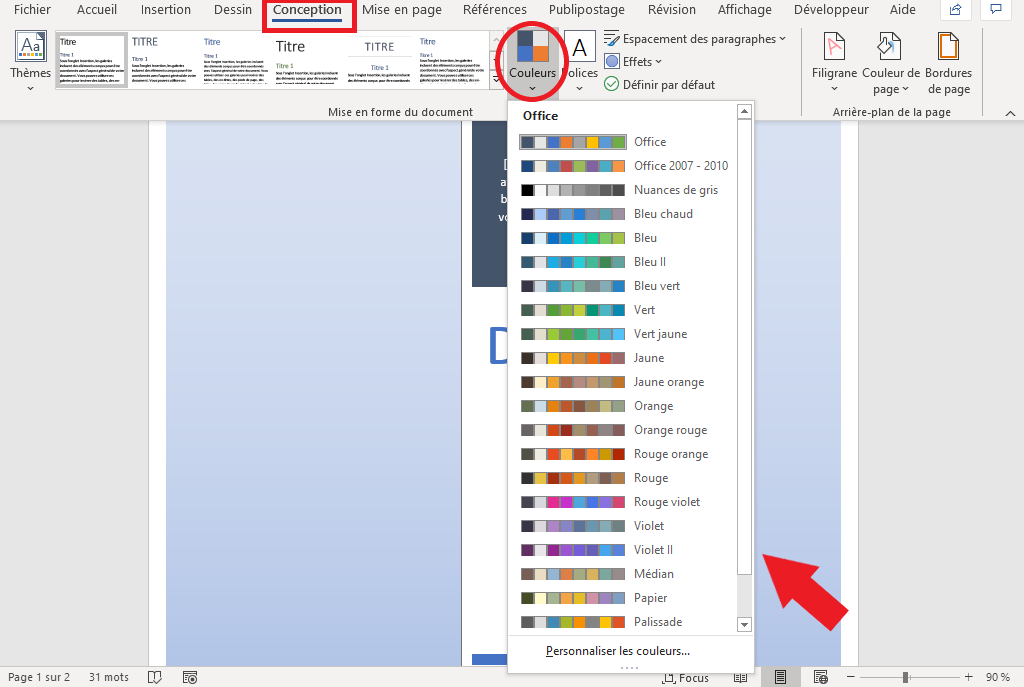
- Colors: Don't be afraid to experiment. Just maybe avoid neon green on bright orange. Trust me on this one.
- Fonts: Choose fonts that are readable and complement your document's tone. Comic Sans is generally frowned upon, unless you're writing a comic book.
- Pictures: Adding a relevant image can really elevate your cover page. Just make sure it's high quality and doesn't look pixelated.
Pro tip: Use the "Design" tab to quickly change the overall color scheme and fonts. It's a lifesaver!
Creating a Cover Page from Scratch
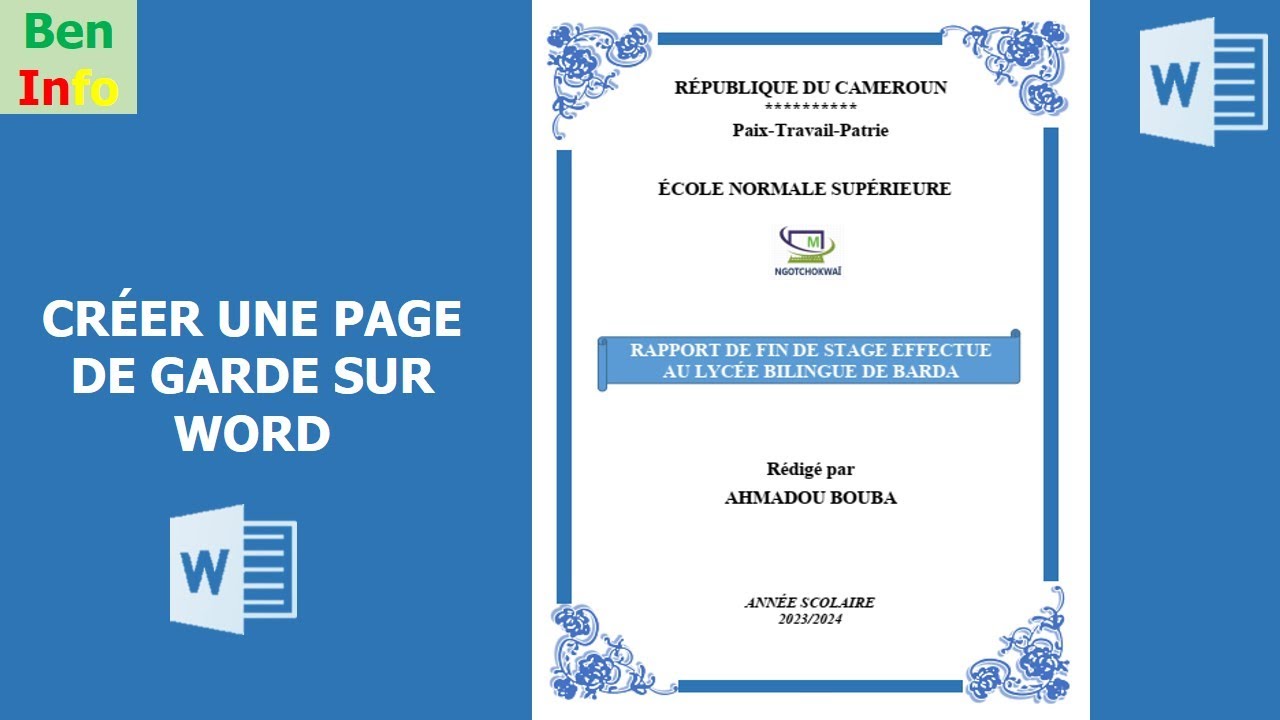
Feeling adventurous? Want to unleash your inner Picasso? Let's build a cover page from the ground up!
First, create a blank page at the beginning of your document (Insert > Blank Page). Then, let your creativity flow!
Here are some elements you might include:
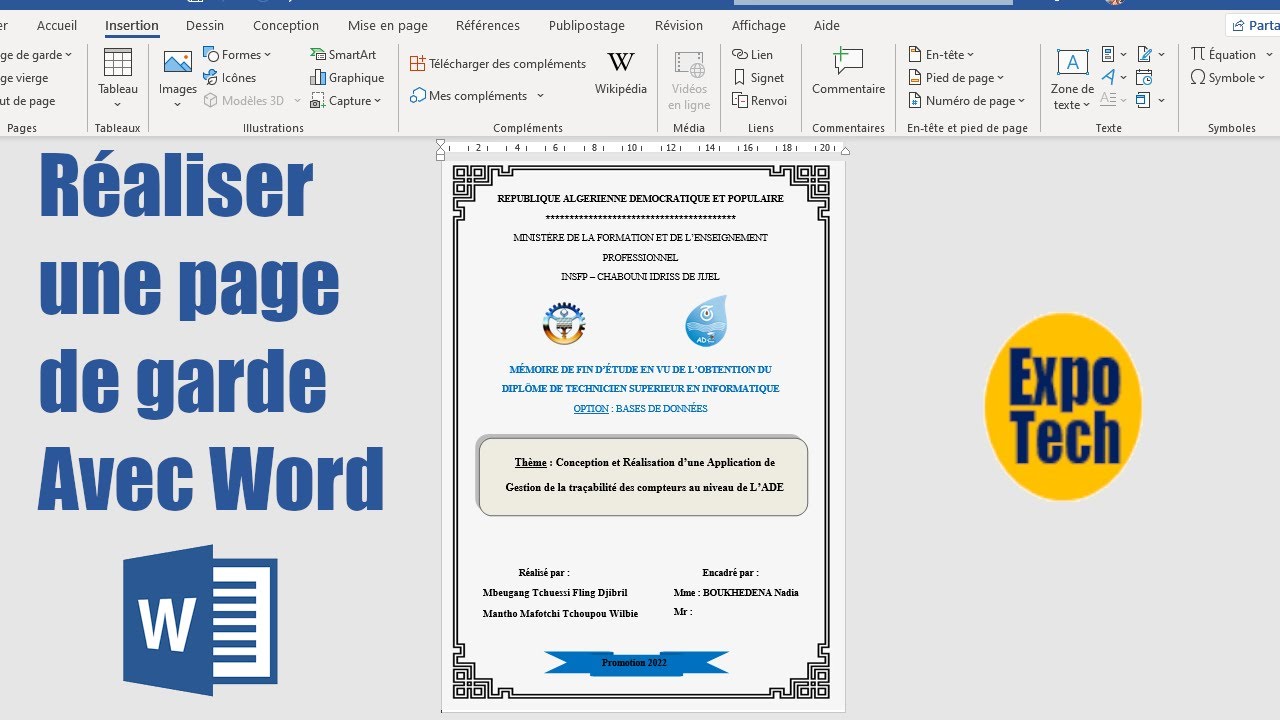
- Text boxes: For the title, subtitle, author, date, etc.
- Shapes: Lines, rectangles, circles – use them to create visual interest.
- Pictures: Your company logo, a relevant image, or even a decorative border.
- WordArt: Use sparingly! WordArt can be powerful, but can easily look dated. Use it with caution.
Key Considerations:
- Keep it clean: Don't overcrowd the page. Less is often more.
- Use consistent formatting: Stick to a limited number of fonts and colors.
- Proofread carefully: Typos on your cover page are a big no-no.
Don't be afraid to experiment and try different things. It might take a few tries to get it just right.
And voila! You have a personalized cover page that reflects your style and makes your document stand out. Now go forth and impress the world!
P.S. Don't forget to save your awesome cover page as a template so you can reuse it later. File > Save as Template!





![Insérer Une Page De Garde Personalisée Word [Docx] Un Modèle Gratuit De Page De Garde Word 2025 LArt de la Première](https://4.bp.blogspot.com/-qsFTsOmjK3g/VF_cZtdd15I/AAAAAAAACJ4/czP2AEXuh18/w1200-h630-p-k-no-nu/modele+page+de+garde+gratuit+word.PNG)