Comment Faire Un Trou Pour Un Vis à Cheville Video
Okay, confession time. Last week, I was trying to hang a ridiculously heavy mirror (don't ask, it was a *very* impulsive buy) and I ended up with a wall that looked like it had been attacked by a deranged woodpecker. Seriously, multiple holes, all the wrong size. The dust was everywhere. My neighbors probably thought I was demolishing my apartment. Why? Because I thought I could just "wing it" when it came to drilling holes for wall anchors. Big mistake. Huge. So, if you're looking to avoid my wall-disaster saga, let's talk about how to actually do this right, shall we?
The truth is, making a perfect hole for a wall anchor (une cheville in French, just so you know) isn't rocket science, but there's definitely a method to the madness. And thankfully, there are videos out there to guide us. But even *with* videos, it's easy to get lost in the details. This is why we're here today.
Pourquoi les Chevilles, De Toute Façon? (Why Anchors, Anyway?)
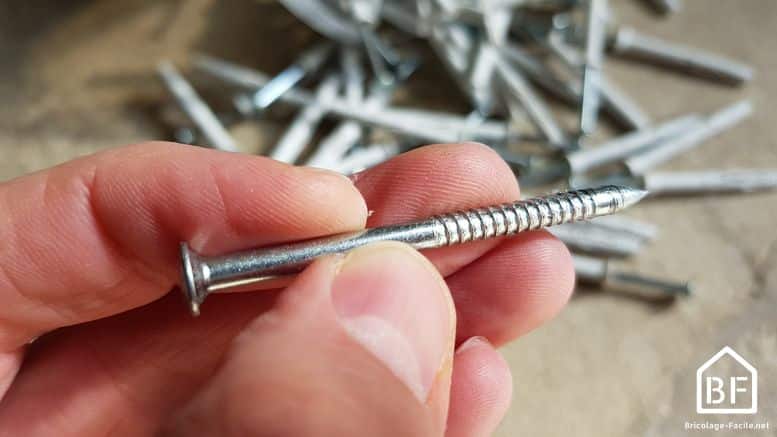
First things first, let's quickly touch on why we even *need* wall anchors. If you're screwing directly into a stud (the solid wood beams behind your drywall), you're golden. No anchor needed! But most of the time, you're just dealing with drywall, plaster, or some other flimsy material that can't hold much weight on its own. That's where anchors come in. They provide a secure point for your screw to grip, spreading the weight and preventing it from just ripping right out of the wall. Simple, right?
(Side note: always check for studs before resorting to anchors. A stud finder is your best friend here. Trust me, it’s worth the investment.)
Trouver la Bonne Vidéo (Finding the Right Video)
YouTube is your friend. Seriously. There are countless videos demonstrating how to drill holes for various types of wall anchors. The key is to find a video that specifically addresses the type of anchor you're using. There are plastic anchors, metal anchors, self-drilling anchors... the list goes on. Each one requires a slightly different approach. Watch a couple of different videos to get a feel for the process and see different perspectives. Look for videos with clear visuals and concise instructions. Avoid the ones with shaky cameras and mumbling narrators. You'll thank me later.
(Pro tip: search in French! Something like "Comment poser des chevilles molly" will yield better results if you’re in France or want to use French brands.)
Les Étapes Essentielles (The Essential Steps)
Okay, so you've found a good video. Now what? Here's a breakdown of the key steps, regardless of the type of anchor you're using:
- Mark the spot: Use a pencil to clearly mark where you want to drill. Double-check your measurements! No one wants a crooked picture frame.
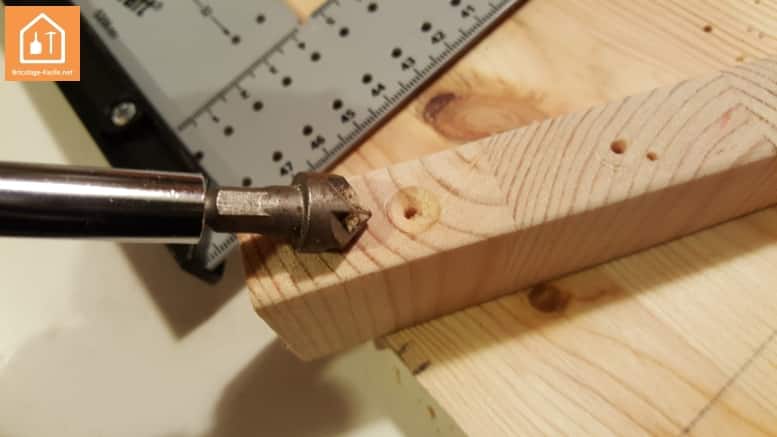
- Choose the right drill bit: This is crucial. The video should tell you exactly what size drill bit to use for your specific anchor. Using the wrong size is the most common mistake. Too small, and the anchor won't fit. Too big, and it'll be loose and useless.
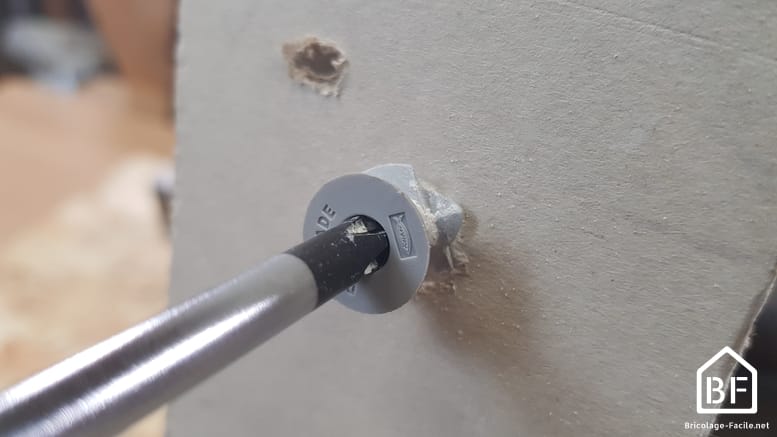
- Drill the hole: Hold the drill perpendicular to the wall and apply steady pressure. Don't force it! Let the drill do the work.
- Insert the anchor: Gently tap the anchor into the hole with a hammer if needed. Some anchors are self-drilling, so you can skip this step.
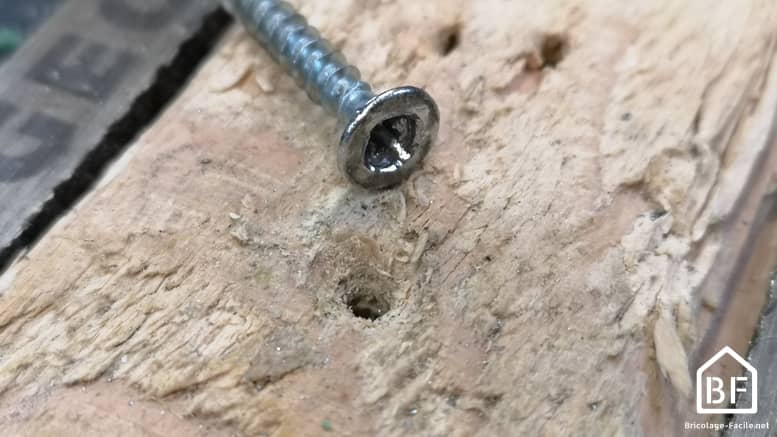
- Insert the screw: Now you can finally screw in whatever you're hanging! Don't overtighten, or you risk stripping the screw or damaging the anchor.
Les Erreurs à Éviter (Mistakes to Avoid)
Besides using the wrong size drill bit (which, as I mentioned, is the cardinal sin), here are a few other common mistakes to watch out for:
- Drilling at an angle: This will make it difficult to insert the anchor and screw.
- Using too much force: You could crack the drywall or damage the anchor.
- Ignoring the weight limit: Every anchor has a maximum weight capacity. Don't exceed it, or your precious item will come crashing down.
- Not watching the video all the way through *before* starting: This is where I often failed in my younger, more impatient days. Trust the process.
Keep it clean! Use a vacuum cleaner or dust brush to clean up the drywall dust as you go. This will prevent it from getting everywhere (like it did in my apartment!). Seriously, my cat was sneezing drywall dust for days.
En Conclusion (In Conclusion)
Hanging things on walls doesn't have to be a source of stress and frustration. With the right tools, the right video, and a little bit of patience, you can achieve perfect, secure holes for your wall anchors. And you can avoid turning your wall into a Swiss cheese imitation. Trust me, your neighbors (and your cat) will thank you.
(Bonus tip: practice on a scrap piece of drywall first. That way, you can get the hang of it without risking damage to your walls.)