Comment Faire Un Petit Montage Avec Des Videos Perso
Okay, so, picture this: the other day, I was scrolling through my phone, drowning in a sea of… well, mostly blurry photos of my cat and half-eaten sandwiches. But then, I stumbled upon some videos from my last vacation. Sunsets, laughs, goofy dances... pure gold! The only problem? They were all scattered, disjointed, and, let’s be honest, kinda boring on their own. That's when I had this *epiphany*: I needed to learn how to make a petit montage!
And that’s what I’m here to talk to you about today. Making a quick video montage from your personal videos is way easier than you think. Forget Hollywood-level productions; we’re talking about creating something fun and shareable without needing a film degree.
Finding Your Weapon of Choice (aka, Video Editing Software)
First things first, you need the right tools. Don't panic! You probably already have something suitable. Think about this: Are you a "I-want-it-super-easy-please" type of person, or are you ready for something that has a bit of a learning curve for more control?
If you're leaning towards easy, consider these:
- iMovie (for Mac users): Seriously, if you have a Mac, iMovie is your best friend. It's free, intuitive, and packs a surprising punch.
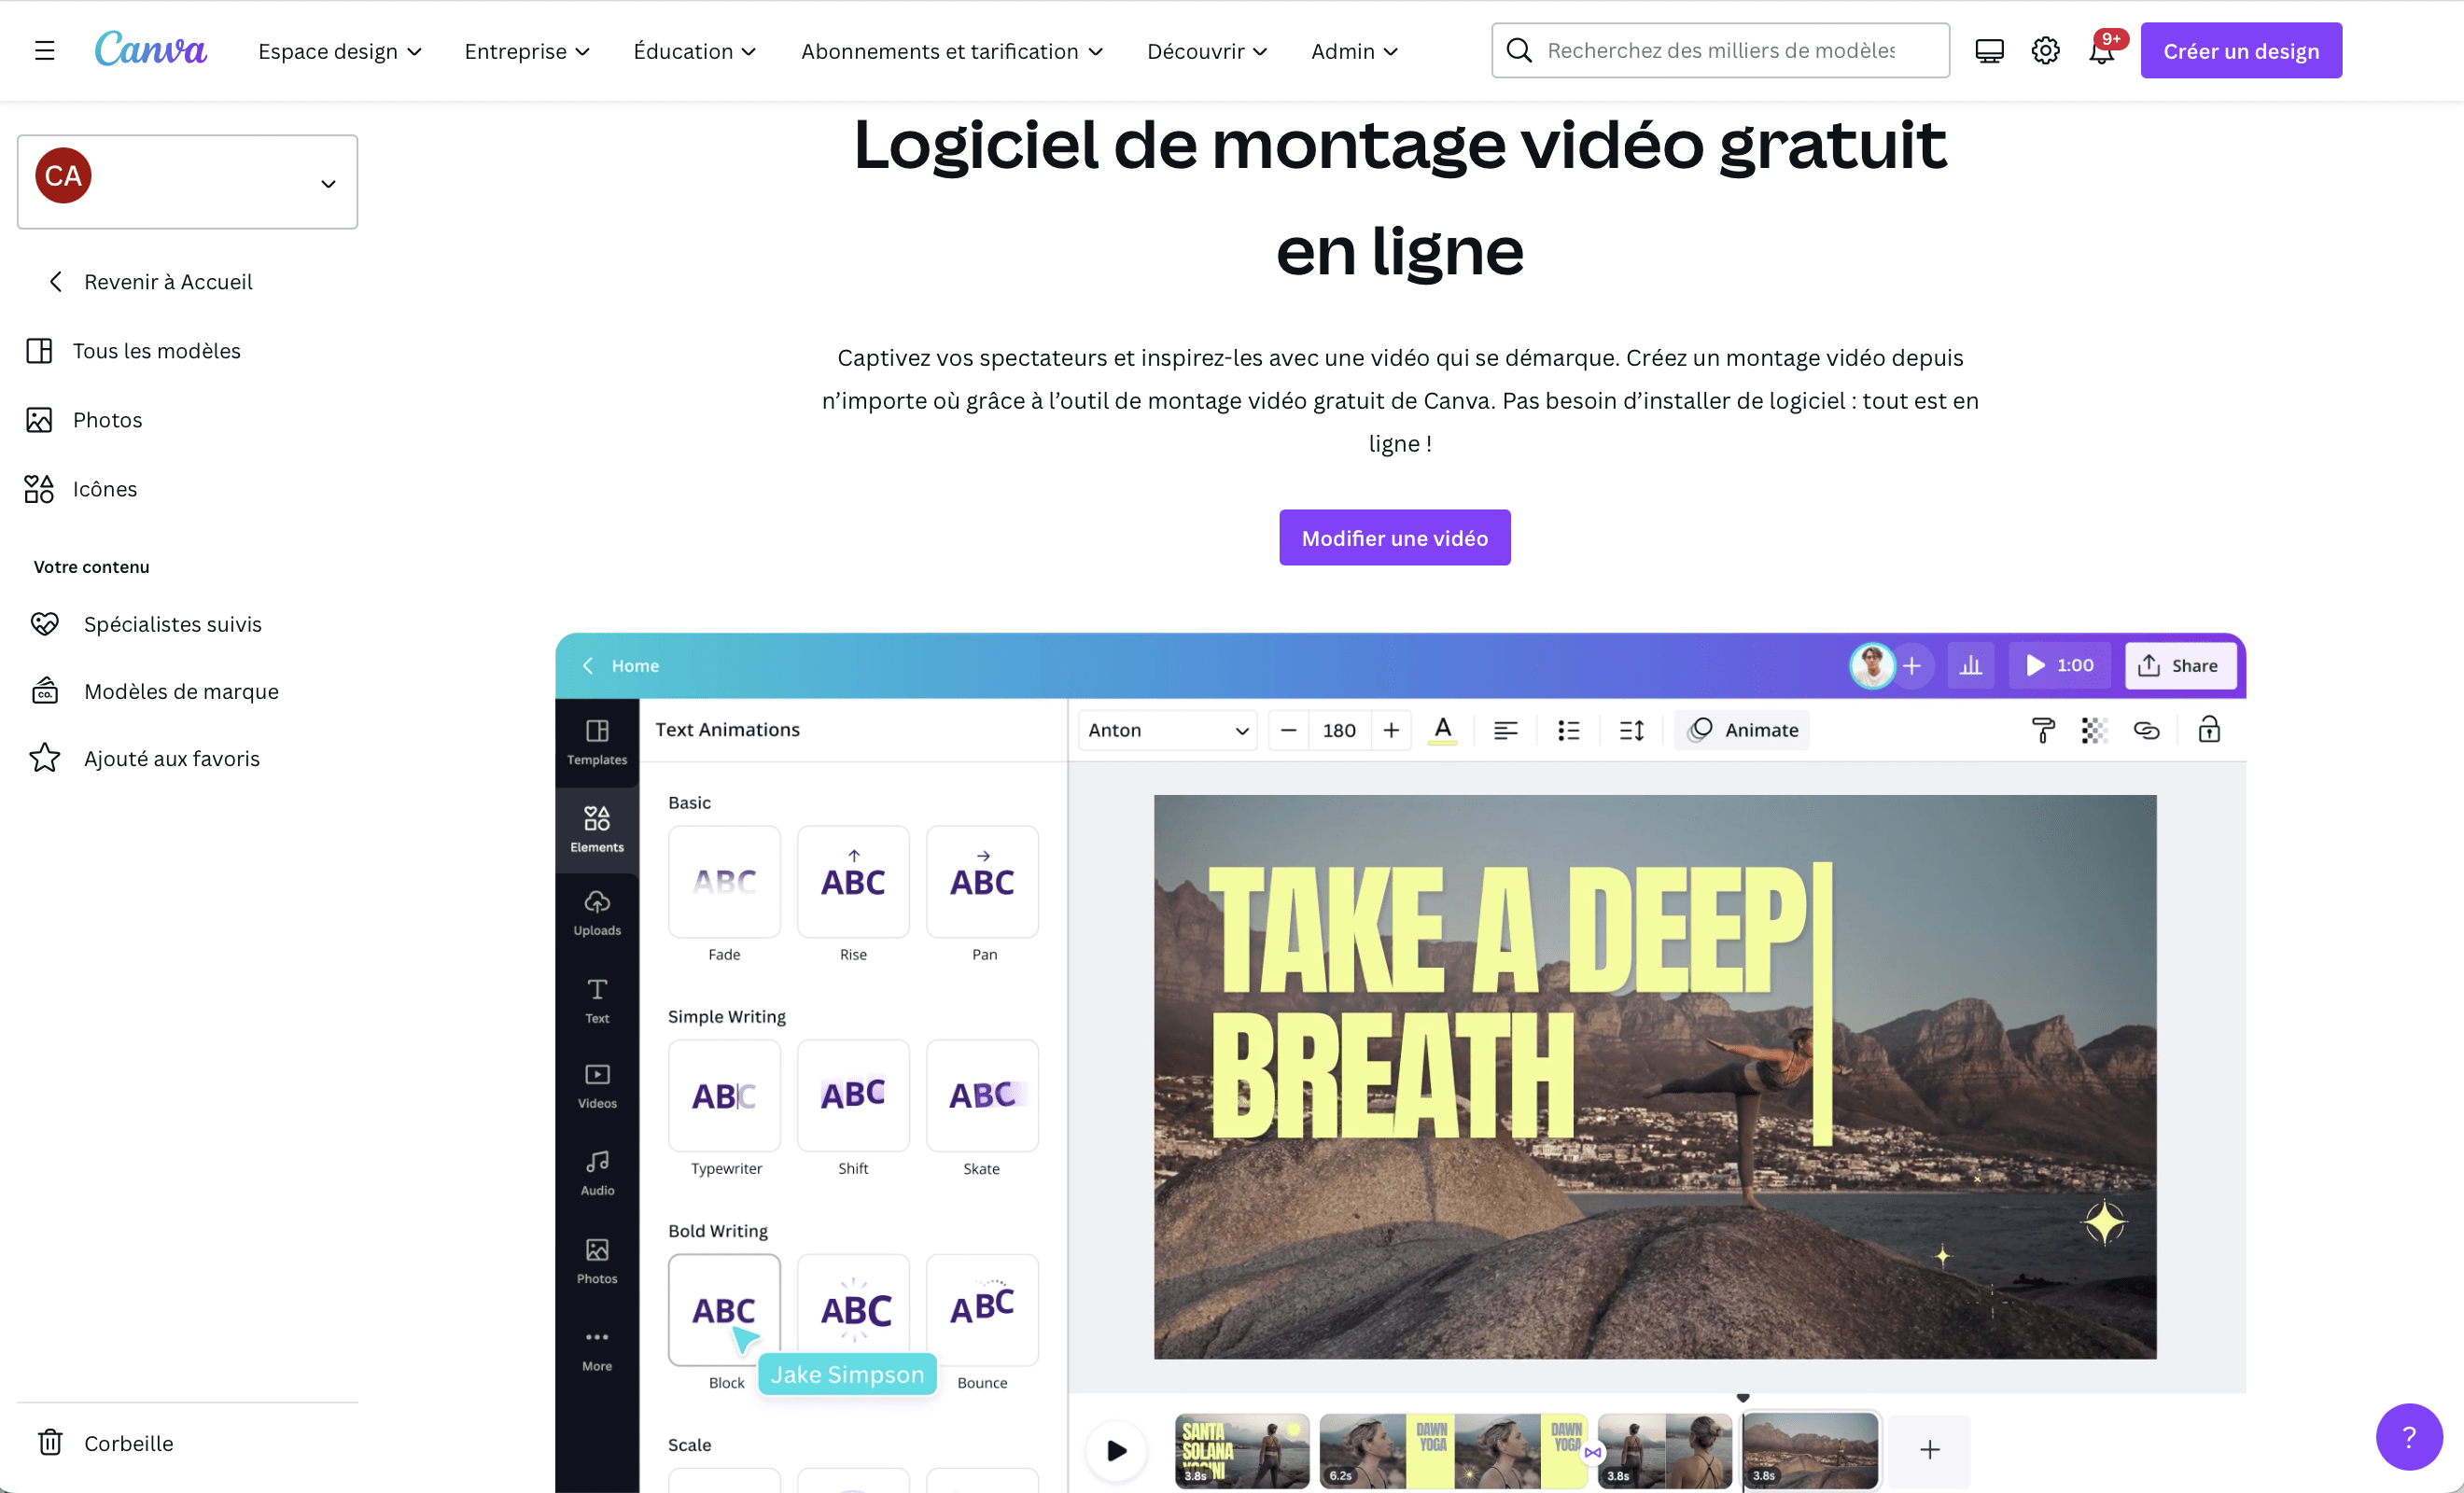
- Google Photos (for everyone!): Yep, Google Photos can do basic video editing. Perfect for quickly trimming clips and adding music.
- CapCut (mobile app): This is amazing for mobile editing - it’s free, available on both iOS and Android, and packed with features, from adding text and stickers to incorporating cool transitions.
For the slightly more adventurous, there's:
- DaVinci Resolve (free version): Okay, this one can seem intimidating at first, but trust me, the free version is incredibly powerful and offers a ton of creative options. It has a steeper learning curve but is worth it if you want to get serious.
Personally, I started with iMovie. It’s very user-friendly. Pro-tip: Don't get bogged down in the technicalities. Just pick one and start playing around!
Gather Your Treasures (aka, Your Video Clips)
Okay, you've got your software. Now, it's time to assemble your raw materials. Before you start, think about the *story* you want to tell. Is it a recap of a weekend getaway? A celebration of a friend's birthday? Having a general idea will save you a ton of time later.
Start by gathering all the videos you want to include. This is where you might discover that half your footage is shaky and out of focus (we’ve all been there!). Don't be afraid to be ruthless and cut out the boring or unusable stuff.
Seriously, be ruthless. No one wants to watch five minutes of you struggling to open a jar of pickles. Unless it's *really* funny, of course.
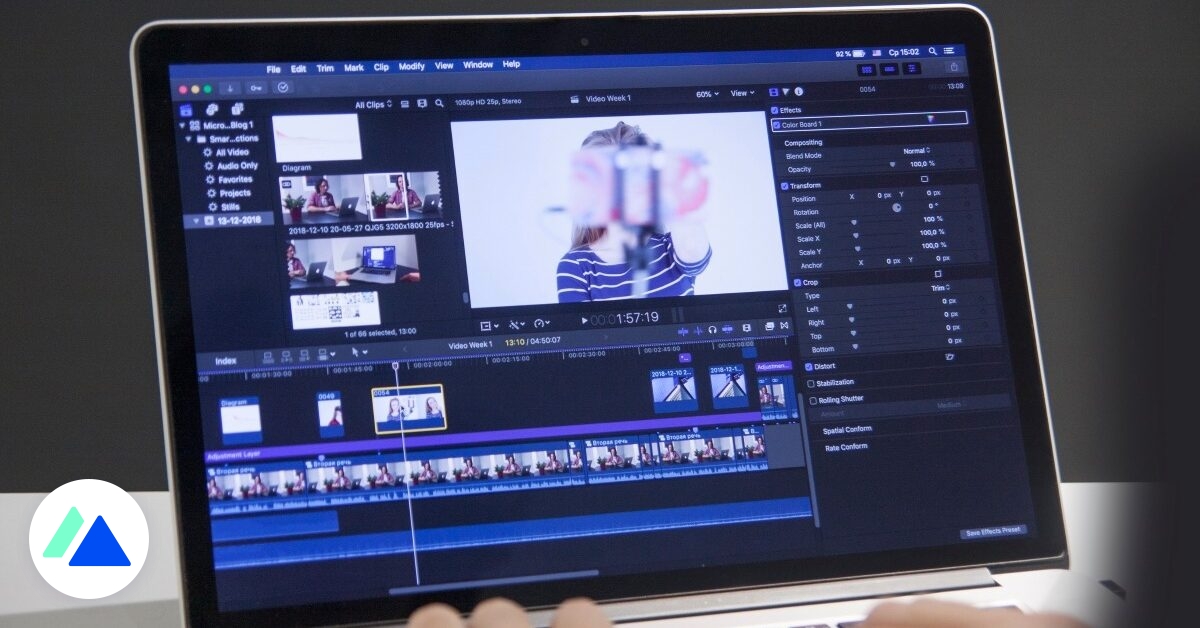
Cutting and Pasting Your Way to Glory
This is the heart of the process: actually editing the video! Here's the basic rundown:
- Import your clips: Drag and drop (or use the import function) to get your videos into the editing software.
- Trim the fat: Use the trimming tools to cut out the unnecessary bits at the beginning and end of each clip.
- Arrange the clips: Drag the clips into the order you want them to appear in your montage.
- Add transitions: Use transitions (like fades, dissolves, or wipes) to smoothly connect the clips. Don't overdo it, though! Too many fancy transitions can be distracting.
Tip: Short and sweet is key. Aim for clips that are only a few seconds long. Keep the pace moving to keep your audience engaged.
Spice it Up: Music, Text, and Other Goodies
Once you have the basic structure of your montage, it's time to add some flair!
Music: A good soundtrack can make all the difference. Choose music that complements the mood of your video. Most editing software has a library of royalty-free music you can use. Be mindful of copyright if you’re using commercial music!
Text: Add titles, captions, or labels to provide context or highlight key moments. Keep the text simple and easy to read.
Other goodies: Some software lets you add stickers, filters, or other visual effects. Use these sparingly and only if they enhance the overall video.
For example, if the video is about a trip to Paris, consider adding a little Eiffel Tower icon in the corner (not too big, though!). Little touches make a big difference.
Export and Share Your Masterpiece
You've edited your video, added music, and polished it to perfection. Now it's time to export it and share it with the world (or, you know, just your friends and family).
Choose an appropriate export setting (usually 1080p is fine for most online platforms). Then, upload your video to YouTube, Vimeo, Facebook, or wherever you want to share it.
And that's it! You've created your very own petit montage! Now go forth and document your life... and maybe lay off the blurry cat photos just a little.