Comment Faire Un Passepoil En Couture Video

Okay, confession time. Remember that stunning vintage dress I was bragging about? The one I found in a thrift store for, like, five euros? Yeah, well... the zipper exploded. Don't ask. (Actually, *do* ask in the comments, I need someone to commiserate with!). But more importantly, the *piping* around the neckline came undone. And that piping, mon Dieu, that piping was *perfect*. I just HAD to replicate it.
So, armed with YouTube and a pot of coffee (essential supplies for any crafting emergency, right?), I embarked on a quest: *Comment faire un passepoil en couture?* And guess what? It's actually... not that scary.
Why Bother with Piping?
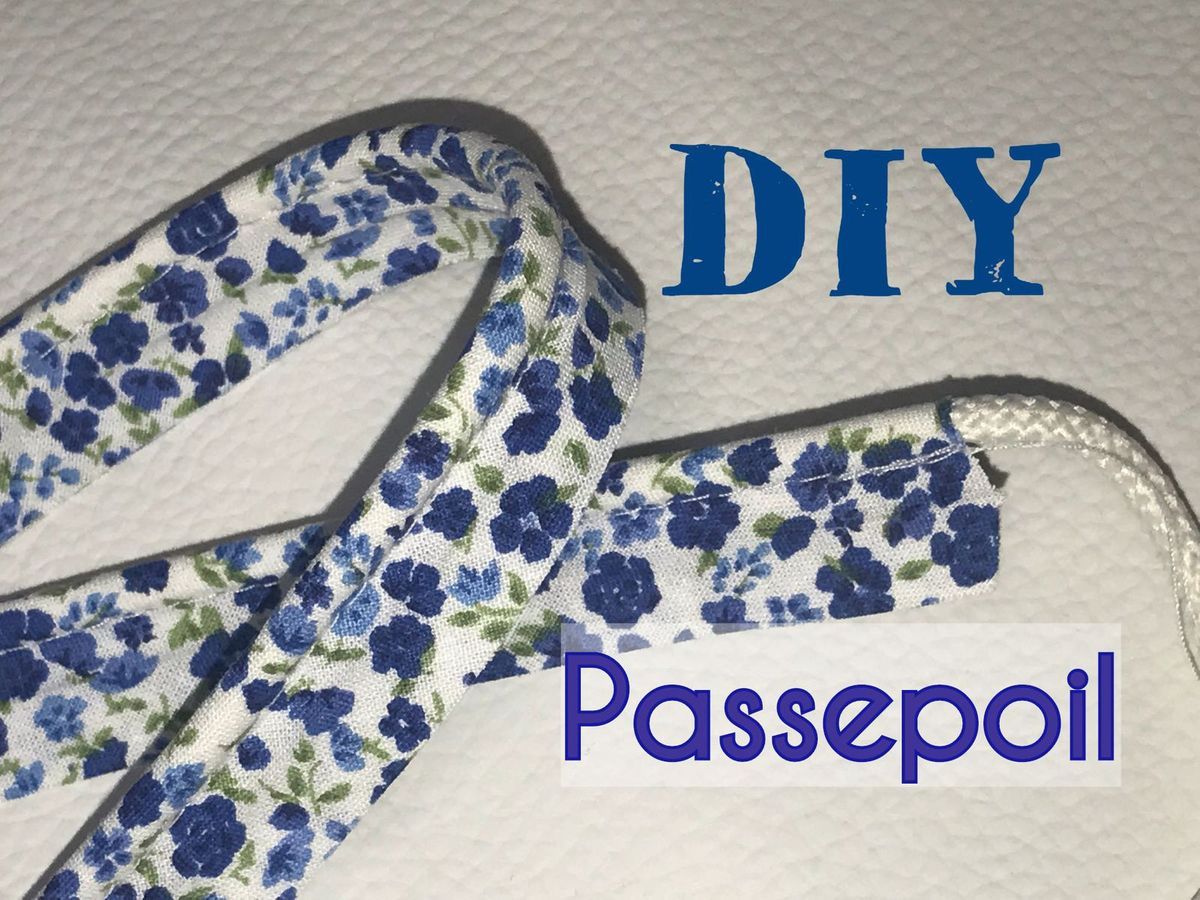
Seriously, though. Why go to all the trouble? Well, piping (or *passepoil* in French, which sounds way more chic, let's be honest) adds a subtle, yet powerful, detail. It can:
- Define edges beautifully (think collars, cuffs, necklines).
- Add a pop of color (or texture!).
- Give a professional, polished finish to your projects.
- Hide imperfect seams (shhh, don't tell anyone I said that!).
Basically, it's the little black dress of sewing techniques. Versatile and always in style. Okay, maybe that's a bit much. But you get the idea!
The Video Revolution: Learning with YouTube
Forget dusty textbooks and intimidating instructors! (No offense to any sewing teachers out there, but sometimes YouTube is just...easier). Finding a good video tutorial is *key*. Look for ones that are clear, well-lit, and, ideally, in your preferred language. I personally prefer French tutorials for the sheer dramatic flair some of these seamstresses possess. It's like watching a mini-opera while learning how to sew! Who knew?
A good video will walk you through the whole process: from cutting your fabric strips on the bias (important, people!), to wrapping it around the cording, to stitching it all together with your zipper foot (yes, that's the secret weapon!).
Pro Tip: Watch the video *multiple* times before you even touch your fabric. Trust me, it'll save you a lot of headaches (and potentially wasted fabric).
Essential Tools and Materials
Okay, let's gather our supplies. You'll need:
- Fabric: Choose a fabric that complements your main project.
- Cording: This is the "core" of your piping. Choose a size that suits your project.
- Matching thread: Obvious, but worth mentioning.
- Scissors or rotary cutter and mat: For precise cutting.
- Zipper foot: *Absolutely* essential for getting close to the cording.
- Ruler or measuring tape: Accuracy is your friend!
- Sewing machine: Well, duh!
Side note: Don't skimp on the quality of your cording! Cheap cording can be lumpy and uneven, which will show in your finished piping. Nobody wants lumpy piping.
The Actual Sewing Part (It's Easier Than You Think!)
Okay, deep breath. Here's a simplified version of the process:
- Cut your fabric strips on the bias (usually 1 1/2 to 2 inches wide, depending on the cording size).
- Wrap the fabric around the cording, wrong sides together.
- Using your zipper foot, stitch as close to the cording as possible. This is where the zipper foot really shines.
- Trim the seam allowance if necessary.
That's it! You've made piping! (Applause is optional, but encouraged).
Irony Alert: You'll probably spend more time watching videos and gathering supplies than you will actually sewing the piping. Such is the life of a crafter.
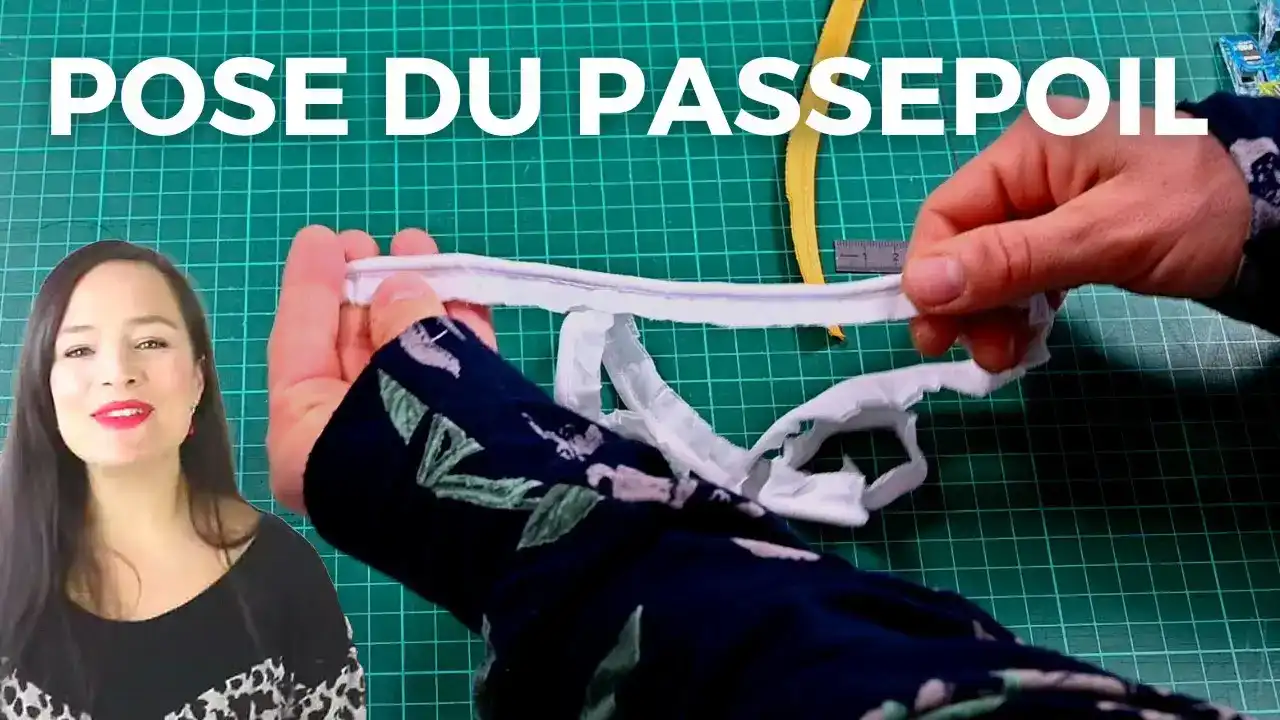
Applying Your Piping to Your Project
Now for the fun part: adding your newly created piping to your project. Pin it carefully in place, right sides together, and stitch it on using your zipper foot again. Go slowly and make sure the piping stays aligned.
When you reach a corner, clip the seam allowance on the piping to allow it to curve smoothly. Don't be afraid to experiment and adjust as needed. Remember, sewing is a journey, not a destination! (Unless your destination is a perfectly piped neckline. Then, yeah, it's a destination).
Final Thoughts
So, there you have it. *Comment faire un passepoil en couture* – demystified! Don't be intimidated by the fancy French name or the seemingly complex process. With a good video tutorial, a little practice, and a whole lot of patience, you can master this technique and add a touch of elegance to all your sewing projects.
And if you mess up? Well, that's what seam rippers are for! (We've all been there). Now, if you'll excuse me, I have a zipper to replace… and a whole lot more piping to make!