Comment Faire Un Montage Video Avec Photoshop Cs5
Okay, so picture this: Me, circa 2012, rocking some seriously questionable fashion choices (think neon leggings and graphic tees – *shudders*), desperately trying to cobble together a birthday video for my best friend. I had this grand vision of a Hollywood-worthy production, filled with hilarious clips and tear-jerking moments. The only problem? My video editing skills were… let's just say, lacking. I owned Photoshop CS5, because, well, who didn't back then? And I thought, "Hey, it's Adobe, it probably does everything!". Spoiler alert: It *kinda* does. That’s how I stumbled into the (surprisingly usable) video editing capabilities of Photoshop CS5. Which leads us to... how *you* can do the same!
Photoshop CS5: The Unexpected Video Editor
Now, before you start picturing yourself churning out the next Oscar-winning masterpiece, let's be realistic. Photoshop CS5 isn't Premiere Pro. It's not even iMovie. Think of it more as… a gateway drug to proper video editing software. It's got enough features to get you started, especially if you're already comfortable navigating the Photoshop interface. Plus, it's surprisingly effective for short, simple projects.
Why would you use Photoshop for video editing? Well, maybe you already own it. Or perhaps you need to quickly add some text, graphics, or special effects to a clip. Photoshop's strength lies in its image manipulation capabilities, so if your video requires heavy image-based editing, it might be your best bet. (But seriously, consider dedicated software for anything beyond basic edits!).
Getting Started: Importing Your Clips
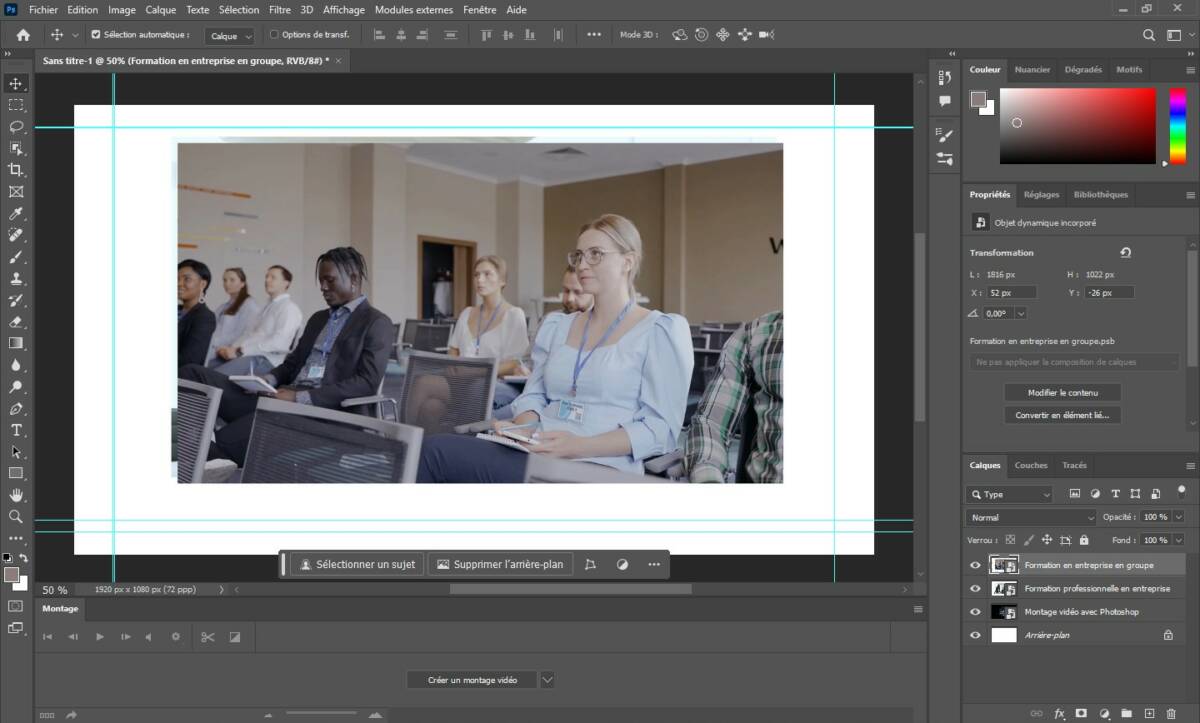
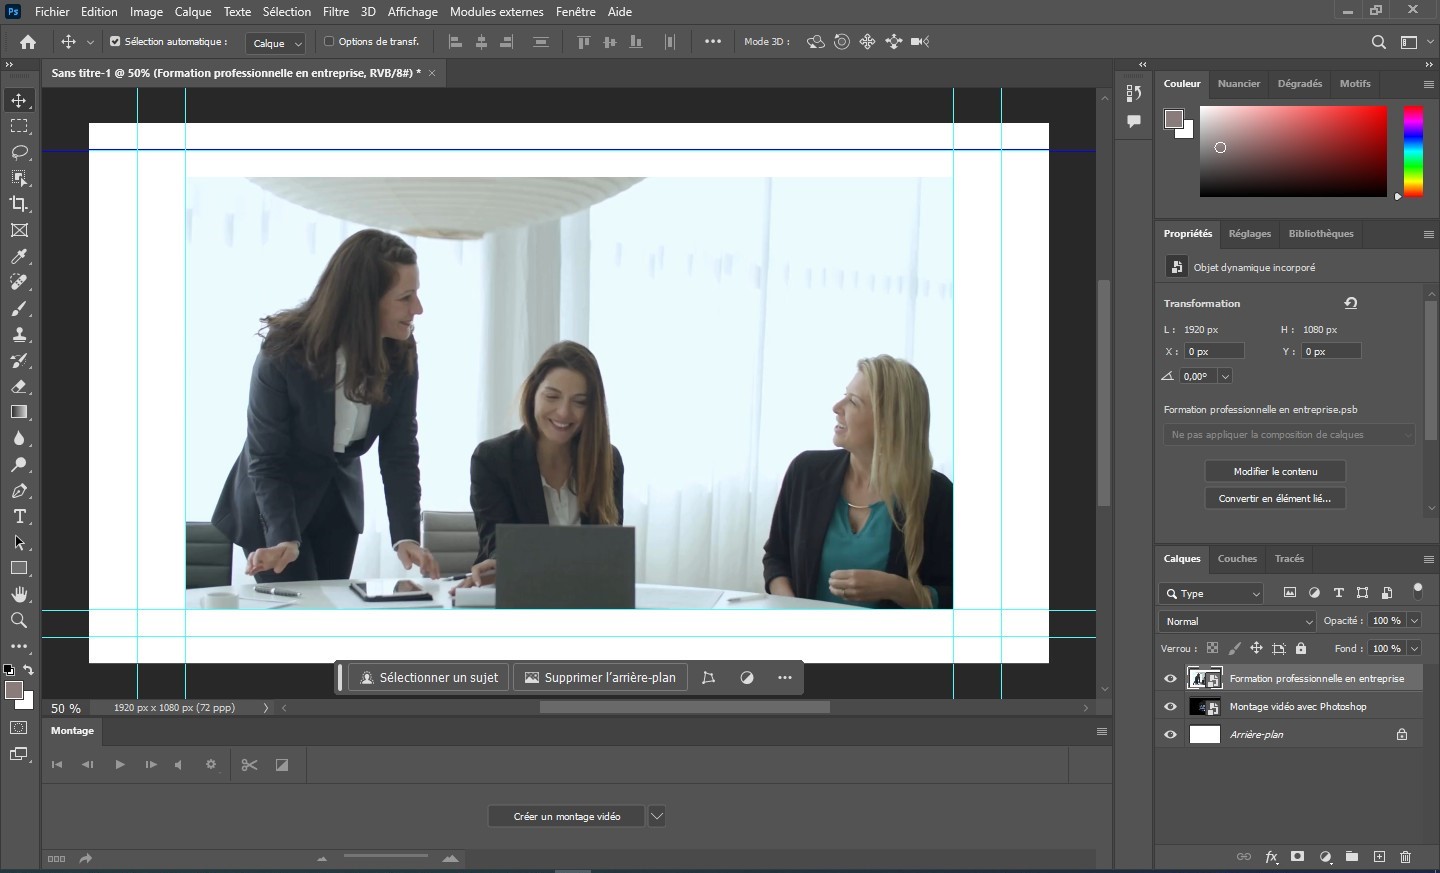
First things first, you need to import your footage. Open Photoshop CS5 (dust off that old disc if you have to!) and go to File > Open. Select your video clips. Photoshop will treat each clip as a separate layer. Don't panic! This is normal. You'll be able to arrange them later on the timeline.
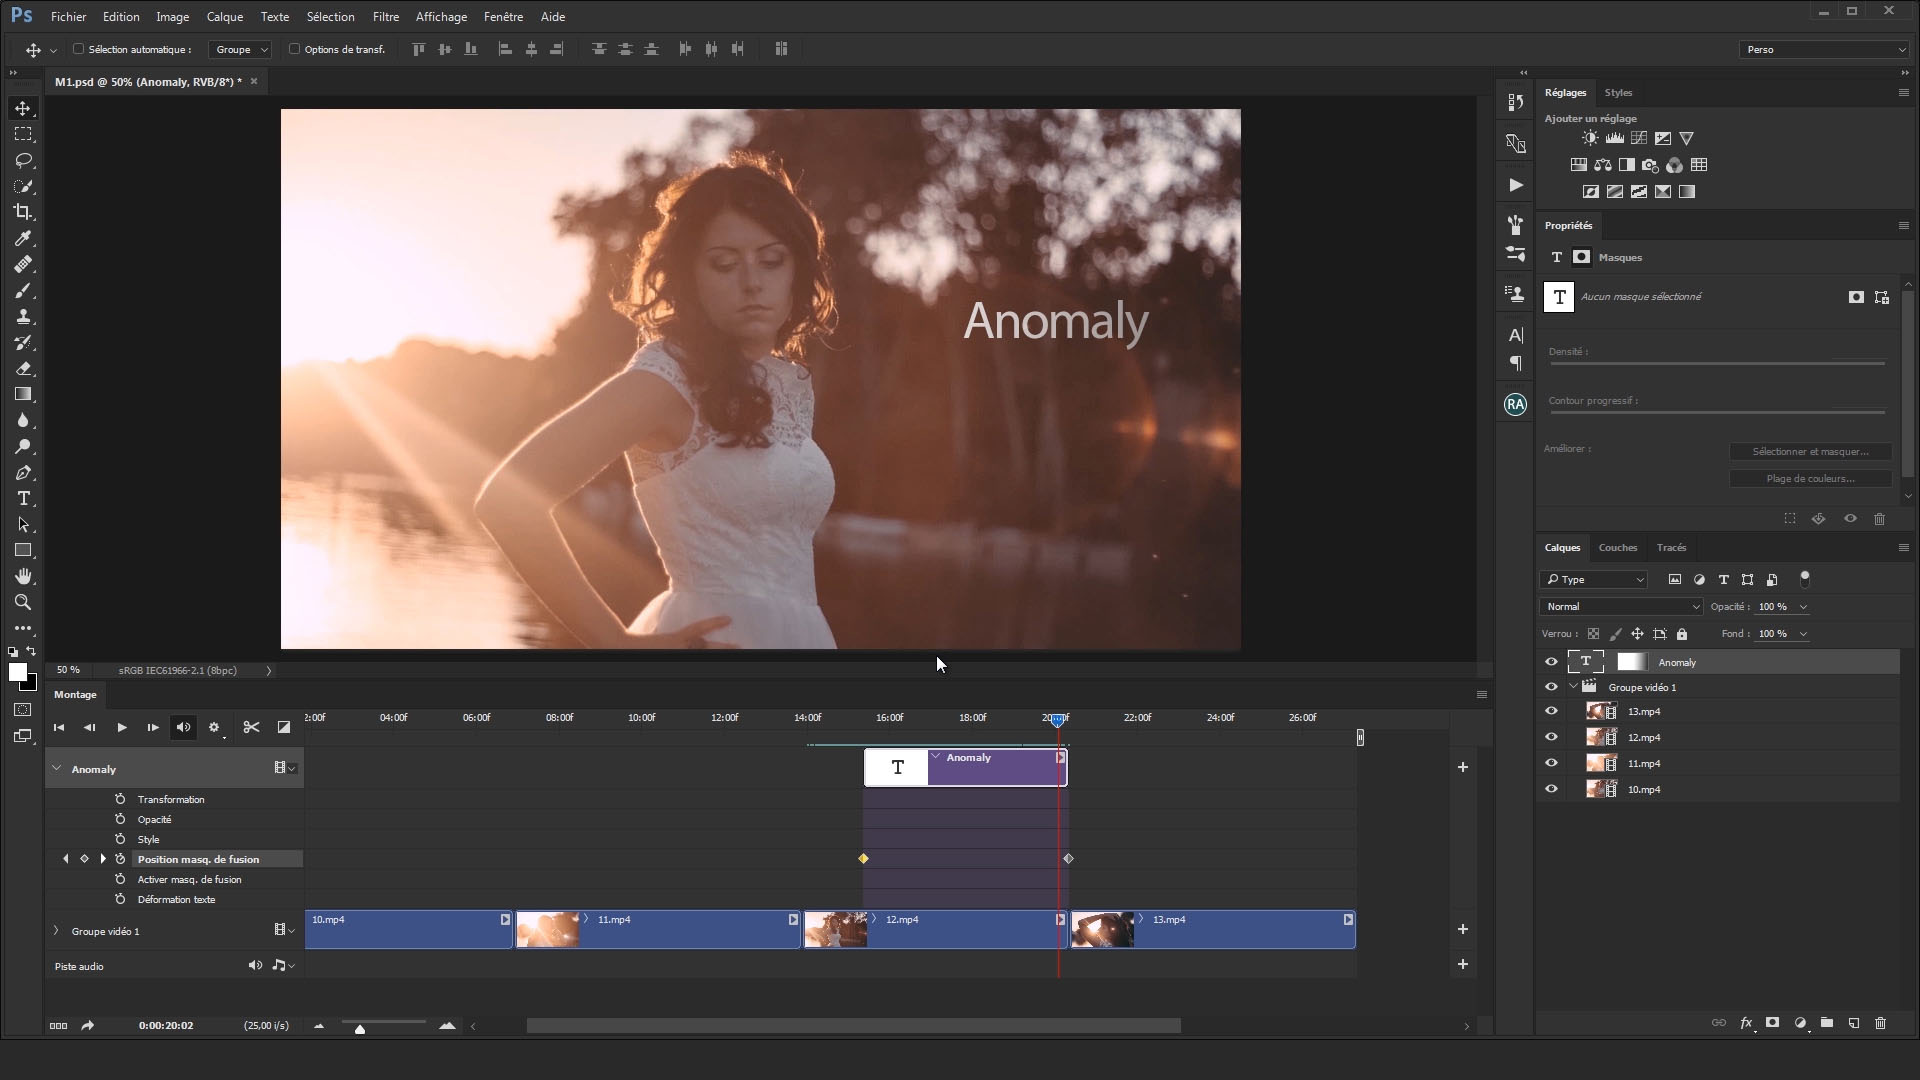
Next, you need to access the Timeline panel. Go to Window > Timeline. This is where the magic happens. The Timeline panel will display your video layers and allow you to trim, rearrange, and add transitions.
Important Note: Make sure your Photoshop workspace is set to "Motion." You can find this under Window > Workspace > Motion. This layout will optimize the interface for video editing.
Basic Editing: Trimming, Cutting, and Arranging
Okay, so you've got your clips loaded and your Timeline panel open. Now it's time to get down to the nitty-gritty. Trimming clips is surprisingly easy. Simply drag the edges of the video layer in the Timeline panel to shorten or lengthen the clip. Think of it as shaving off the unwanted bits.
To cut a clip, position the playhead (the vertical line that indicates your current position in the video) at the point where you want to make the cut. Then, click the "Split at Playhead" button (it looks like a pair of scissors). This will divide your clip into two separate layers, allowing you to move them around independently.
Arranging your clips is as simple as dragging and dropping them in the Timeline panel. You can overlap clips to create transitions, or leave gaps for black frames or other effects.
Adding Transitions and Effects
Photoshop CS5 offers a limited selection of transitions, but they're enough to add a bit of polish to your video. To add a transition, overlap two clips in the Timeline panel. Then, go to the Transition dropdown menu in the Timeline panel and choose your desired transition. (Fade in, fade out, and cross-dissolve are your best friends here).
For effects, you can apply Photoshop's standard filters and adjustment layers to your video layers. Want to add a vintage look? Slap on a sepia tone adjustment layer. Need to sharpen your footage? Use the Unsharp Mask filter. Just remember that applying too many effects can slow down your performance. (Photoshop CS5 isn't exactly known for its blazing speed, you know?).
Adding Text and Graphics
This is where Photoshop really shines. Adding text and graphics to your video is a breeze. Simply create a new text or shape layer and position it over your video in the Timeline panel. You can animate these elements using keyframes to create dynamic titles and lower thirds.
Pro Tip: Experiment with different blending modes and layer styles to create unique and eye-catching effects. A little creativity can go a long way!
Exporting Your Video
Once you're happy with your masterpiece, it's time to export it. Go to File > Export > Render Video. Choose your desired settings, such as the file format, resolution, and frame rate. For online sharing, H.264 is generally a good choice.
Rendering can take a while, especially if your video is long or contains a lot of effects. Grab a coffee, watch an episode of your favorite show, and let Photoshop do its thing.
Final Thoughts: Is It Worth It?
So, can you actually make a decent video with Photoshop CS5? Absolutely. But it's not the ideal tool for every project. If you're serious about video editing, you'll eventually want to upgrade to dedicated software. But for quick edits, simple projects, or adding a unique Photoshop touch, CS5 can be surprisingly useful. And hey, at least you're putting that old software to good use! Just don’t blame me if you start rocking neon leggings again…


![Comment Faire Un Montage Video Avec Photoshop Cs5 Easy-Micro [ PHOTOSHOP - Vidéo ] - Formations informatiques pour](https://www.easy-micro.org/images/logiciels/photos/photoshop/video-photoshop.png)