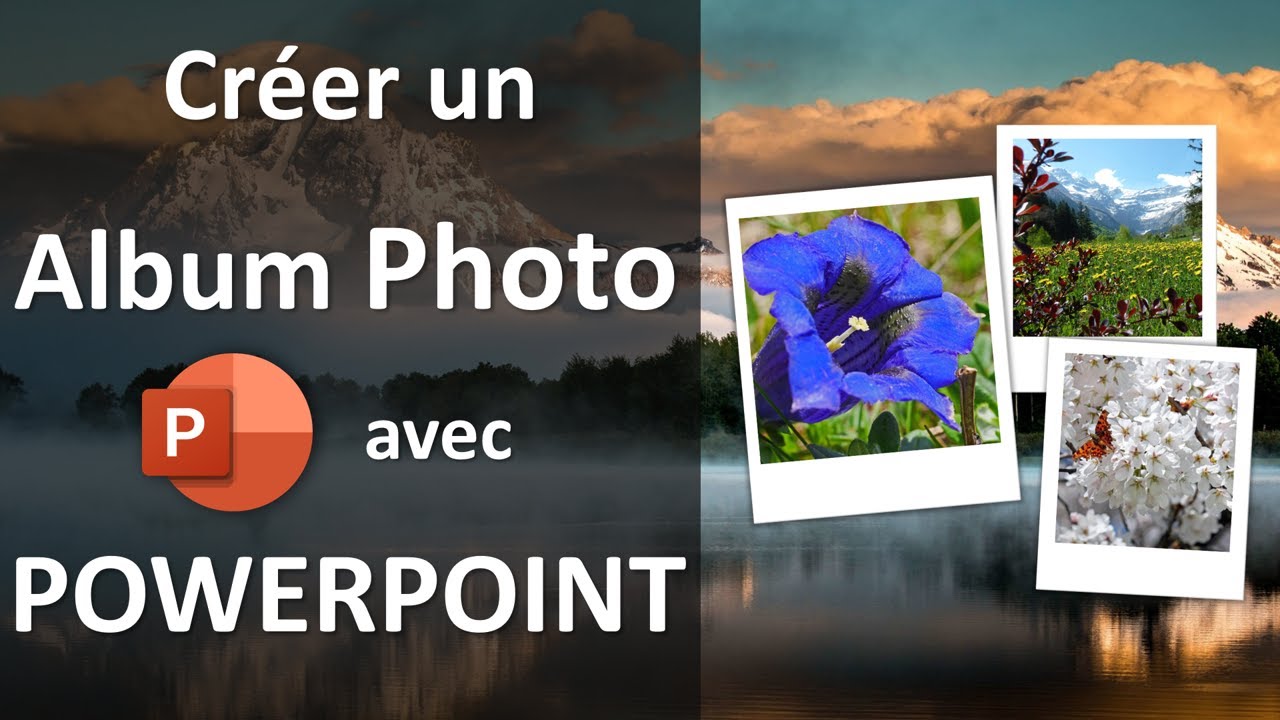
Comment Faire Un Montage Photo Sur Powerpoint 2016 En Video

Okay, so picture this: I’m at my cousin’s wedding, right? Beautiful scenery, delicious cake, and speeches… oh, the speeches. Uncle Gerard insisted on showing a slideshow… made entirely on PowerPoint. And let me tell you, it was… memorable. Not for the right reasons. The transitions were jarring, the text was Comic Sans (shudder), and the "photo montage" was basically just slapping pictures on a slide. It was...painful. Which got me thinking: PowerPoint *can* do better! And you know what? It *will* do better, because I'm here to show you how!
So, you want to create a cool photo montage in PowerPoint 2016? Forget everything Uncle Gerard did. We're going to ditch the embarrassing transitions and embrace the power of simple, effective design. Trust me, it's easier than you think, and the results can be surprisingly impressive. We’re talking shareable, presentable, maybe even *slightly* envy-inducing!
First Things First: Gathering Your Treasures
Before you even open PowerPoint, gather your photos. This is crucial. Don’t just randomly grab whatever’s on your desktop. Think about the story you want to tell. Are you showcasing a vacation? A birthday? A cat’s journey to world domination? (Hey, no judgment here!).
Organize your photos into a folder. Seriously, do it. You’ll thank me later. Name them logically, too. "Vacation_Beach_01.jpg" is way better than "IMG_387456.jpg." Just sayin’.
Consider editing your photos beforehand. A little cropping, a touch of brightness, maybe a filter if you're feeling adventurous. Don't go overboard, though. We're aiming for polished, not Instagram-filter-apocalypse.
PowerPoint Time: Let the Magic Begin!
Open PowerPoint 2016. Choose a blank presentation. Yep, blank. We don't need those distracting pre-designed templates. We're artists, remember?
Insert a new slide. Head to the "Insert" tab, then click "New Slide" and choose "Blank".
Now, the fun part: inserting your photos! Go to the "Insert" tab again, and click "Pictures". Navigate to that lovely, well-organized folder you created and choose your first photo. Resize it and position it where you want it on the slide.
Repeat this process for all your photos. Don't be afraid to overlap them, rotate them slightly, or play around with the positioning. Think collage, not rigid grid.
Adding Flair: Effects and Animations (But Keep it Classy!)
Okay, this is where people often go wrong. Resist the urge to use every single animation PowerPoint offers. Trust me, less is more. A subtle fade or a gentle zoom can add a nice touch, but avoid anything that looks like it belongs in a 1990s screensaver.
To add an animation, select a photo, go to the "Animations" tab, and choose an effect. I recommend "Fade" or "Fly In" (with moderation!). Adjust the "Effect Options" to fine-tune the animation. Remember to keep it consistent! Don't use a different animation for every photo.
Transparency can be your friend. Select a photo, right-click, and choose "Format Picture." In the Format Picture pane, you can adjust the transparency of the image. This can be useful for creating layered effects or for softening harsh edges.
Consider adding text. A simple caption or a short title can add context to your montage. Use a legible font (please, no Comic Sans!) and keep the text concise. You can find text boxes in the Insert tab.
Don't forget about backgrounds! A subtle background color or image can tie everything together. Right-click on the slide and choose "Format Background." Experiment with different colors, gradients, or even a soft, muted image.
Preview and Polish: The Final Touches
Before you declare your masterpiece complete, preview it! Go to the "Slide Show" tab and click "From Beginning" or "From Current Slide." Watch your montage and make sure everything flows smoothly. Are the animations too fast? Is the text readable? Do the photos look good together?
Make any necessary adjustments. Tweak the animations, resize the photos, adjust the text. This is your chance to make your montage truly shine.
Finally, save your presentation! Save it as a .pptx file so you can easily edit it later. You can also save it as a video (.mp4) if you want to share it online or play it on a device that doesn't have PowerPoint installed.
There you have it! You've created a photo montage in PowerPoint 2016 that's both visually appealing and (hopefully) devoid of Uncle Gerard-esque cringe. Now go forth and create awesome slideshows! (And maybe warn Uncle Gerard about Comic Sans… just a thought).