Comment Faire Un Film A Partir De Video
Okay, okay, confession time. Last summer, armed with nothing but a smartphone and a wildly optimistic spirit, I decided I was going to make the next big blockbuster. Think "Citizen Kane," but with way more awkward vacation footage. The result? Let's just say my family still teases me about "Operation: Seagull Selfie." But hey, at least it got me thinking: how DO you actually make a film from video clips?
So, you've got a bunch of video clips. Maybe from your phone, maybe from a proper camera, maybe you even raided Aunt Gertrude's attic and found tapes from the 80s (good luck with those!). The good news? You’re already halfway there! Now comes the fun (and sometimes frustrating) part: turning that digital pile into something watchable.
Choosing Your Weapon (aka Editing Software)
First things first: you need editing software. Don't panic! You don't need a Hollywood-grade setup right away. There are tons of options, ranging from free and user-friendly to powerful (and pricey).
Free Options: Think iMovie (if you're an Apple person), or DaVinci Resolve (which is surprisingly powerful for a freebie). These are great for beginners and have enough features to get you started. Don't underestimate them! You can do some serious magic with free tools.
Paid Options: Adobe Premiere Pro, Final Cut Pro, etc. These are the big guns. They offer more advanced features, like color grading, motion graphics, and audio mixing. But…they can be overwhelming if you're just starting out.
Pro Tip: Try out the free trials before committing to anything! See what feels right for you. It’s like trying on shoes – you want something comfortable, right?
The Edit: Where the Magic (and the Headache) Happens
Alright, you’ve got your software. Now it’s time to actually…edit! This is where you'll be spending most of your time. Here are a few basic steps:
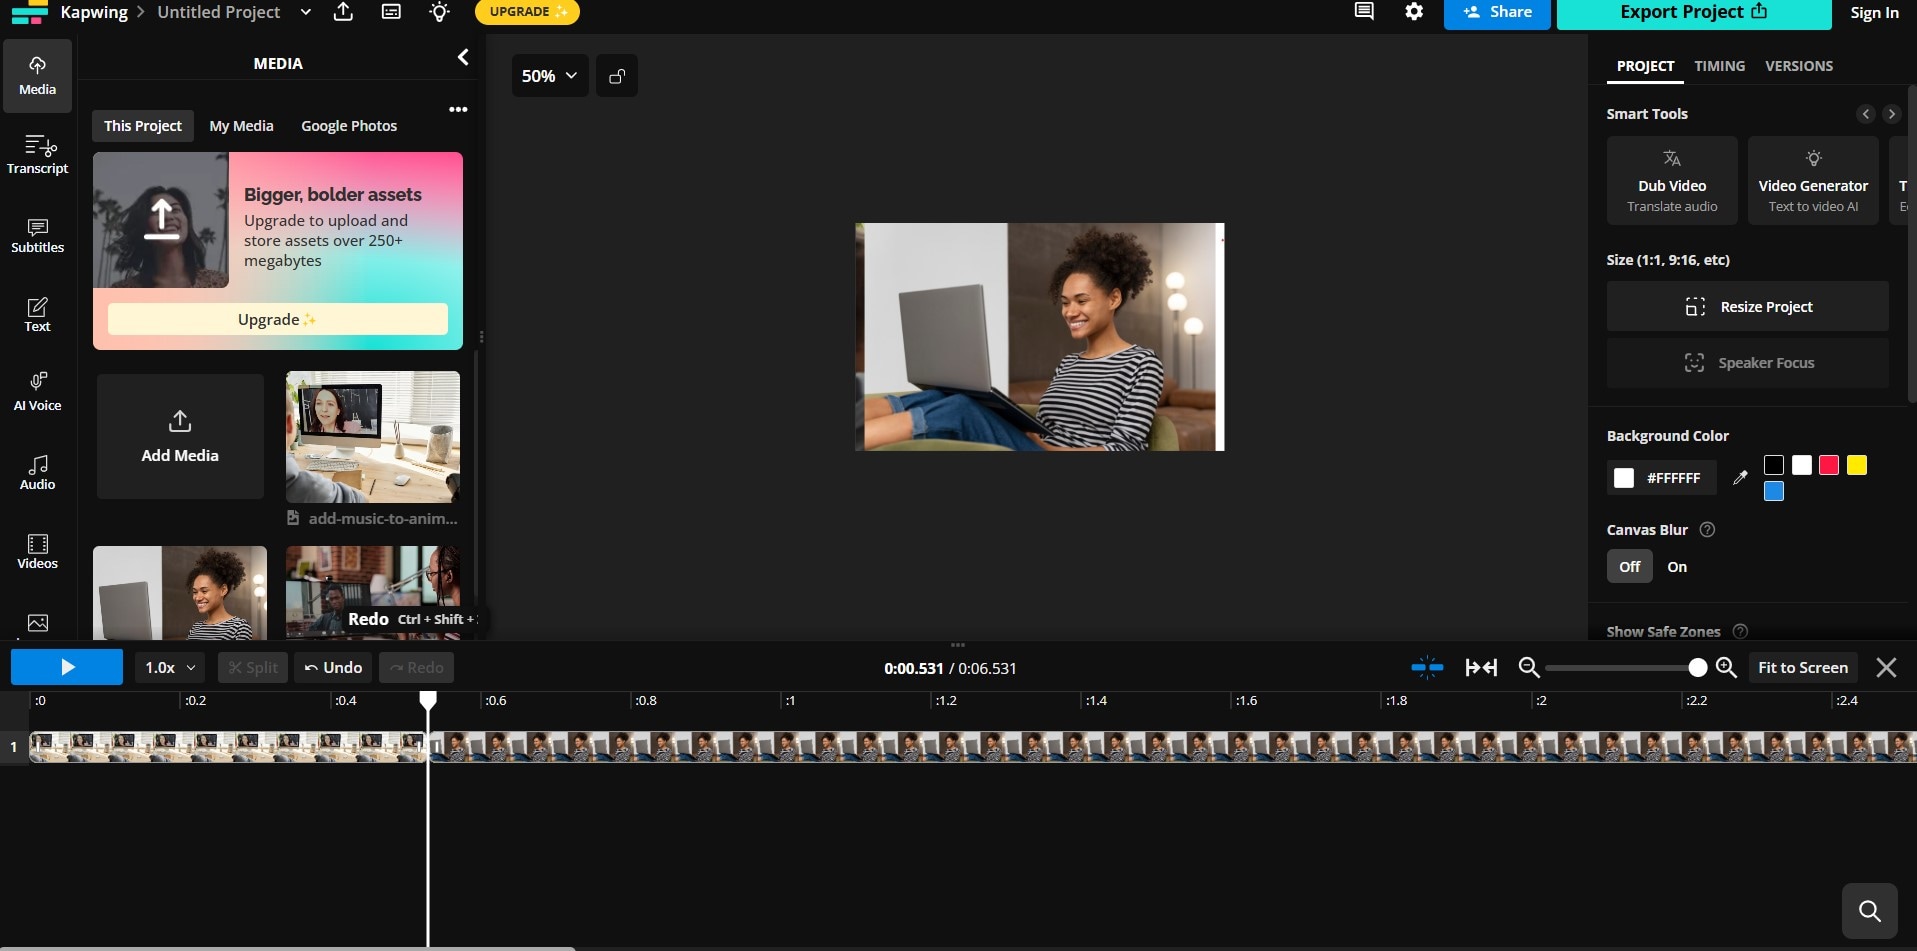
1. Import Your Footage: Duh. Get those clips into your editing software. Organize them in a way that makes sense to you. Name your files! Trust me, future you will thank you. You don’t want 20 files named “clip_001.mov” and then try to remember which one has the hilarious dog faceplant.
2. Cut, Cut, Cut!: This is the essence of editing. Get rid of the boring bits, the shaky footage, the moments where you accidentally recorded your feet. Be ruthless! No one wants to watch you adjusting your camera for 3 minutes.
3. Arrange Your Clips: Think about the story you want to tell. Does it make sense chronologically? Do you want to jump around? Experiment! Don't be afraid to try different things. You might stumble upon something amazing.
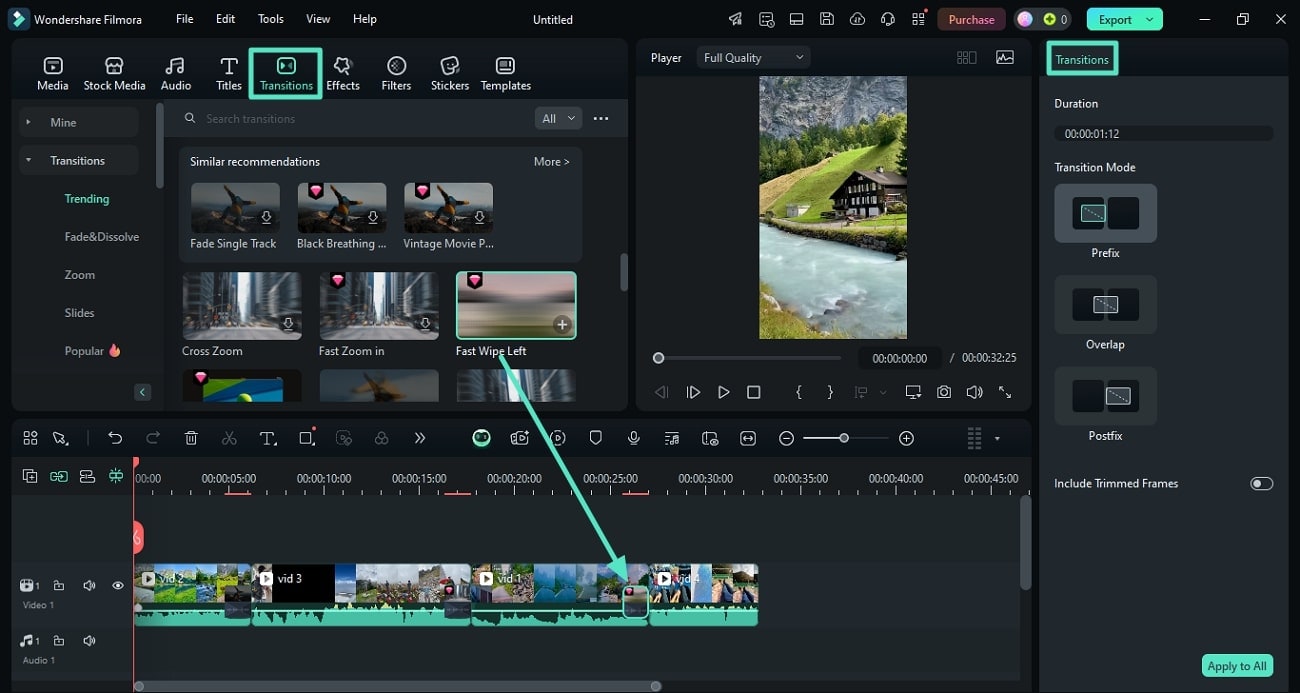
4. Add Transitions: Simple fades and cuts are usually best. Overly fancy transitions can be distracting and make your film look amateurish. Unless you’re deliberately going for a cheesy 90s vibe, then go wild!
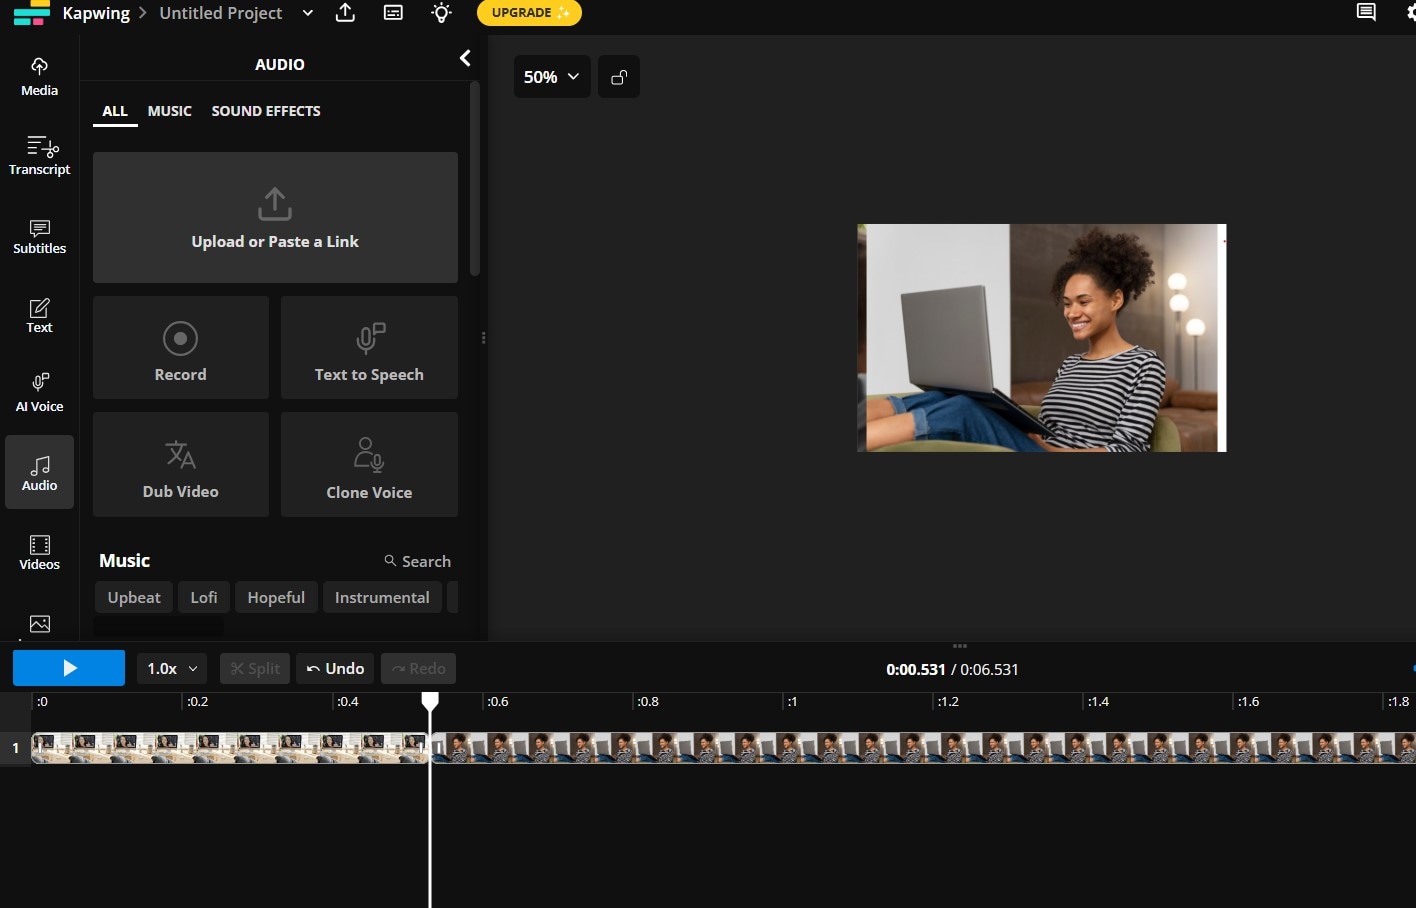
5. Audio is Key: Good audio is often more important than good visuals. Make sure your audio levels are consistent. Add music and sound effects to enhance the mood. Clean up background noise if you can. Seriously, bad audio can ruin even the most visually stunning film.
Adding Polish: Color Grading and Effects
Once you’ve got the basic edit down, you can start adding some polish. Color grading can dramatically improve the look of your film. Even simple adjustments to brightness and contrast can make a big difference.
Effects can also be fun, but use them sparingly! A little bit of sharpening can enhance detail, but too much can make your footage look artificial. Think of effects as seasoning, not the main course.
Exporting Your Masterpiece
Finally, it's time to export your film! Choose the right format and settings based on where you’ll be sharing it. YouTube and Vimeo have their own recommended settings. Don't be afraid to Google "YouTube recommended export settings."
And that's it! You've made a film! Now go forth and share your cinematic creation with the world (or at least your friends and family). And remember, even if it's not perfect, you've learned something. And that's more important than a seagull selfie gone wrong…probably.
![Comment Faire Un Film A Partir De Video Meilleur colleur vidéo pour créer un film à partir de clips [2025]](https://images.wondershare.com/filmora/article-images/video-splicer-2.jpg)